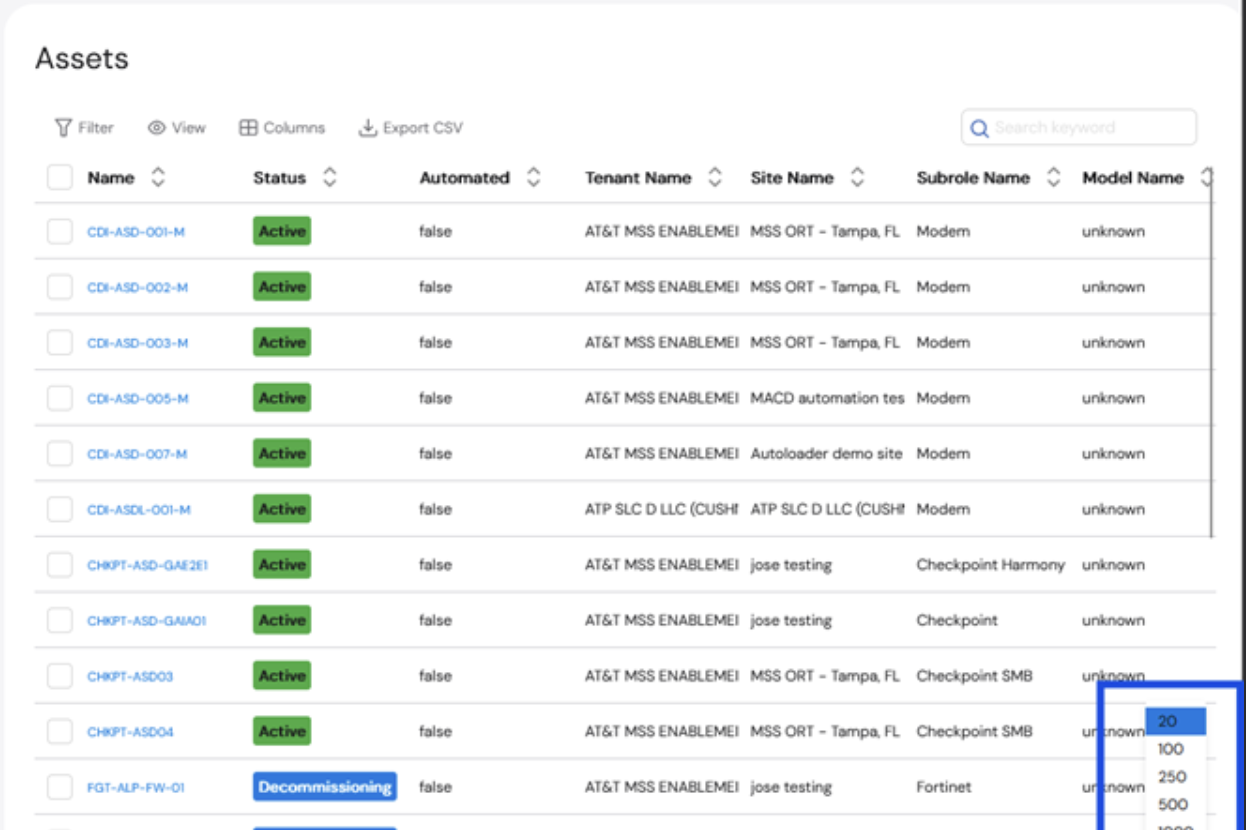
Filter
Applying filters to the table further narrows down the asset list. To filter the fields:- Click Filter.

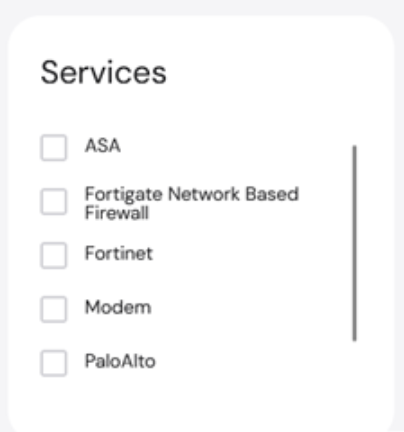
- Click +Add a filter. A list of fields is shown, including ID, Name, Status, Site Name, etc.

- Select the field to be added as a filter.
Click Clear to remove the selected filters.
Views
Click View to select from different pre-defined views, including OS Upgrades.
Columns
To add or remove columns:- Click Columns. A dropdown list appears with a list of all available columns.


- Select the checkboxes of the columns you would like to add. The table changes automatically to reflect the modifications.
Export
You can export the current view of the Asset table in CSV format. The exported file will include everything that is currently displayed on the screen.- To change the columns on the table to be exported, use the Columns function exporting the table.
- To change the number of assets on the table to be exported, change the number at the bottom of the table.