- Log in to the AWS Management Console.
- Under Find Services, enter a name, keyword, or acronym to launch the AWS CloudFormation service page.
-
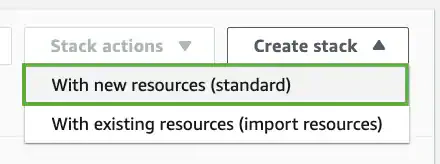
In the upper right corner, click Create stack, and then select With new resources (standard).
-
Go to the USM Anywhere Sensor Downloads page, click the
 icon of your specific sensor, and copy the URL.
- Use the copied URL in the Amazon Simple Storage Service (S3) URL field.
- Click Next, and then click Next again to continue.
- On the Specify stack details page, in the Stack name text box, enter a name to identify the stack. The name must be one word. Use hyphens if desired. For example, you could call the stack “USM-sensor-1”.
-
Set parameters for the AWS Sensor:
Note: The volume size should be prefilled. You can leave this setting at the default value.
- In the USM Anywhere Sensor Name text box, enter a name for the sensor. This is usually the same as the stack name.
- In the Key Name list, select the key pair that allows SSH connections to the sensor. See AWS documentation, Create or import a key pair, for more information.
-
In the Traffic Mirroring Mode list, select Yes to deploy a sensor ready for VPC traffic mirroring, or select No to deploy a sensor without those additional considerations.
Note: See Enabling VPC Traffic Mirroring for more information on this feature.
- In the HTTP Access Range text box, specify the IP address range that allows HTTP access to the sensor.
- In the SSH Access Range text box, specify the IP address range that allows SSH access to the sensor.
- Click Next.
- Select the appropriate VPC ID and subnet ID, specify whether to use a public or private IP address, and then click Next.
- (Optional.) On the Configure stack options page, set tags for the instance, and then click Next.
-
On the Review page, select the checkbox at the bottom of the page next to the statement “I acknowledge that AWS CloudFormation might create IAM resources.”

- Click Create stack.
-
In the Stacks page, confirm that your newly-created stack status reads like this:
CREATE_IN_PROGRESSStack creation typically takes about 15 minutes. When the stack build is complete, you see the following confirmation:CREATE_COMPLETENote: See the Troubleshooting CloudFormation page for more information about the possible errors with your AWS CloudFormation stack. -
After your new stack is complete, click the Outputs tab and locate the URL.
This URL is based on the public address of your deployed sensor (http://<ip-address>). Make note of this address so that you have it for configuring your data sources to send data to the AWS Sensor. See the AWS documentation for more information about managing public IPv4 addresses.
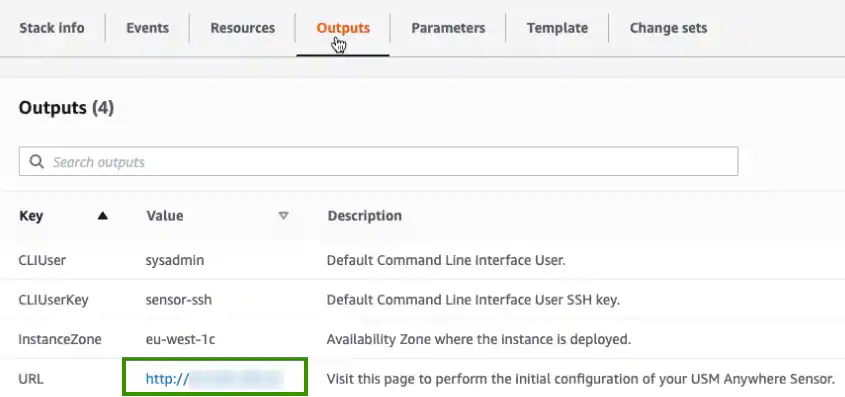
- Click the URL link to launch the USM Anywhere Sensor Setup page.
AWS Sensor Deployment
Deploy the AWS Sensor
After you review the requirements and make sure that your Amazon Web Services (AWS) environment is configured as needed, you can deploy the AWS Sensor. Using the AWS CloudFormation Template provided by LevelBlue, you automatically deploy USM Anywhere as a service into your environment.
The following procedure describes how to launch the AWS Sensor when provisioning the USM Anywhere service for the first time. In this process, you launch the USM Anywhere product from the AWS Management Console using the AWS CloudFormation template.
To create a new sensor in the AWS Management Console