| Role Availability | Read-Only | Investigator | Analyst | Manager |
- USM Anywhere receives threat updates every 15 minutes in the form of raw data for all pulses to which you subscribe, either directly or through subscriptions to other OTX users.
- You receive updates on your subscribed pulses by email, either individually as they occur or in digest mode.
- You can review an OTX pulse activity feed containing detailed analytics about related threat vectors reported by OTX.
- As soon as you USM Anywhere, you can see which pulses are most active in your environment by looking at Open Threat Exchange Dashboard.
- USM Anywhere evaluates IOCs against all events as long as they are generated and generates an alarm when a malicious IP address communicates with any of your assets, or when any other IOCs become active in your network.
OTX Account and OTX Key
USM Anywhere enables you to display OTX information if you have a valid OTX key. Go to Settings > OTX to see the LevelBlue Open Threat Exchange (OTX) page. See Entering Your OTX Key for more information about how to enter your OTX key.OTX IP Reputation Data Correlated with Events
USM Anywhere maintains an IP reputation list that stores data it receives from OTX about public IP addresses involved in malicious or other suspect activities. Whenever an event has its source or IP addresses listed in the IP Reputation list, reputation data will be added to the data stored for the event. This enables USM Anywhere to support some additional features like re-prioritization of events and alarms depending on the IP of the involved. The IP reputation list maintained by USM Anywhere is stored on the USM Anywhere . Activity, Reliability, and Priority values provided by OTX are saved with event information for those events having reputation data for either source or destination IP addresses. The main purpose of the IP reputation list is to provide a list of known or potentially dangerous IP addresses. If any alarm or event is generated by the action of a listed dangerous IP address, then this event will have a smaller probability of being a . This also enables for the recalculation of event/alarm risk depending on its “IP Reliability” and “IP Priority” values.Note: Reputation events are anonymized and submitted to the LevelBlue OTX service for those customers who enable that capability in USM Anywhere. With the feedback received from customer systems and all the other sources LevelBlue uses, the IP Reputation values are updated before being redistributed to customers.
Displaying Alarms and Events Based on OTX Pulse and IP Reputation
The USM Anywhere Alarm and Events web UI provides methods of searching for and filtering alarm and security events based on OTX pulse and IP Reputation information. For each event, the database stores associated information on the source and destination IP address provided by OTX, in addition to the activity reported in the event, for example, spamming, , scanning, malware distribution, and so on.Searching, Filtering, and Viewing Alarms
Different from the way other alarms are processed, USM Anywhere generates an alarm whenever it detects even one event associated with an OTX pulse. Alarm begins at that point and proceeds for a period of 24 hours. During this time, USM Anywhere adds any new events related to that pulse to the same alarm. If any new events related to the pulse occur after that 24-hour period, USM Anywhere generates a second alarm and a new correlation period begins. As an exception to this rule, should an event contain data on record with OTX IP Reputation information, USM Anywhere correlates the alarm, using its standard directive .Note: If an OTX pulse is creating too much noise and generating too many false positive alarms, you can always just unsubscribe from the pulse.
Searching, Filtering, and Viewing Events
From the USM Anywhere Events main page, you can search for and filter events based on whether OTX pulses exist for source or destination IP addresses, as well as the severity of different IP Reputation scores. See Events List View for more information. This screenshot displays the search and filter OTX options: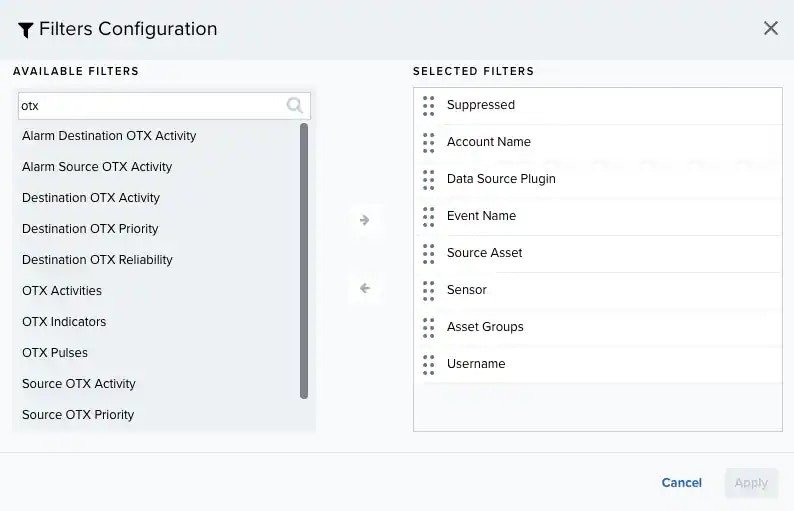
Creating rules using OTX and Threat Intelligence IOC fields
USM Anywhere enables you to create orchestration rules using OTX and threat intelligence Indicator of Compromise (IOC) fields and functions. You can select the OTX and threat intelligence fields as conditions to create an orchestration rule. See Orchestration Rules for more information and this example of how to create an alarm rule using threat intelligence IOC fields. To create an alarm rule using threat intelligence IOC fields- Go to Settings > Rules > Orchestration Rule.
- Select Create Orchestration Rule > Alarm Rules.
-
Click Add Condition and select the property values you want to include in the rule to create a matching condition.
Note: If the field is related to the name of a country, you should use the country code defined by the ISO 3166.Note: The Sources or Destinations field needs to match the universally unique identifier (UUID) of the event or alarm. You can use the Source Name or Destination Name field instead.Note: If you need to add a property value that maps with a property key, you need to know the mapping of the field. See Determining the Mapping of a Field for more information.
-
(Optional.) Click Add Group to group your conditions.
Note: See Operators in the Orchestration Rules for more information.
- In the Occurrences text box, enter the number of event occurrences that you want to produce a match on the conditional expression to trigger the rule. You can enter the number of occurrences or use the arrows to scroll the value up or down. You can enter a number between 1 and 100.
- Click Next.
- Enter a name for the rule.
- Select an intent. The intent describes the context of the behavior that is being observed. These intents roughly map to the stages of the intrusion kill chains but are collapsed to ensure that each is discrete. See Intent for more information about the available threat categories.
-
Enter a method.
If known, it is the method of attack or associated with the indicator that generated the alarm.
Note: This is a required field; if you do not complete this field, the Save button remains inactive.
- Select a strategy. The strategy describes the broad-based strategy or behavior that is detected. The intention is to describe the user’s strategy to achieve their goal.
- Enter a priority. See Priority Field for Alarms for more information.
-
Configure a mute duration set in seconds, minutes, and hours.
You can use the mute value to set the period of time during which, once an alarm is createdUSM Anywhere will not create a new alarm based on the same conditions.
Note: Take care to set a mute duration that is long enough to cover the span of time in which matching events will occur to maximize the efficacy of your mute.
-
In the Length text box, specify the timespan that you want to use to identify a match for multiple occurrences. Enter the number in the text box, and then use the drop-down menu to select a value of seconds, minutes, or hours.
This duration identifies the amount of time that transpires from the beginning to the end of the occurrence. If the number of occurrences is not met within this period, the rule is not a match.
Note: Your defined length and occurrences function together to specify the number of occurrences within a time period that will produce a match for the rule. For example, you can define a rule to trigger an for an attempt when a failed occurs three times within a five-minute window.
-
Select the fields that you want to display in the generated alarm.
You can select or remove the fields you want to include in the details of the alarm by clicking the
 and the
  icons.
- Click Save The created rule displays in the list of rules. See Alarm Rules from the Orchestration Rules Page for more information.