Sort and Filter the Displayed Jobs
Sort and Filter the Displayed Jobs
To change the sort order of the displayed list, click the column label for the field that you want to use to sort the list. Use the filters in the upper side of the list to change the displayed list so that it includes only the jobs you want to see.
- Filter by: Enter a search string for the name of the app or the job name to display only matching jobs.
- Source: If you have more than one deployed USM Anywhere Sensor or cloud connector, select an option to display only the jobs that are configured for it. You also have the All Sources option to display all of the sources you have in your environment.
-
Job Type: Set this option to display only the jobs of the selected type. The available items are based on the jobs currently displayed on the page:
- All Types
- Collection
- Scan
- Configuration
- Asset Discovery
- User Scan
- Task Status: Set this option to display only jobs for the selected status, Enabled or Disabled. You also have the option All Tasks.
- Clear Filters: Click this button to remove filtering options and display all items for the category selected in the left navigation.
Enable Defined Jobs
Enable Defined Jobs
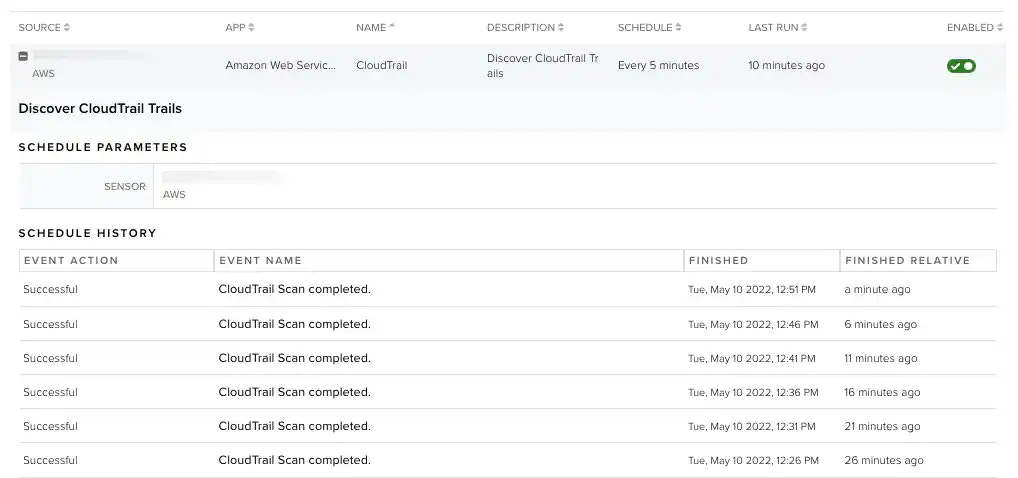
When most logs in your Amazon Web Services (AWS) or Microsoft Azure account are enabled, USM Anywhere automatically discovers them and they can start generating , based on AWS CloudTrail, Amazon Simple Storage Service (S3), AWS Elastic Load Balancing (ELB) access logs, Azure security event logs, and others. But, because these out-of-box log collection and asset scan jobs deploy as disabled initially, you must decide which jobs you want to activate and enable them.You can disable or enable a predefined or custom job in the Job Scheduler page.To enable scheduled jobs
- Go to Settings > Scheduler to open the Job Scheduler page.
-
Locate the jobs with which you want to enable to collect events or asset information, and click the
 icon.
This turns the
icon.
This turns the  icon green. To disable an already-enabled job, toggle the icon to its original status.
Modify Defined Jobs
Modify Defined Jobs
You can only change the parameters of out-of-the-box jobs related to USM Anywhere BlueApps. Other USM Anywhere defined jobs cannot be modified.To make changes to an BlueApp defined job
- Locate the job in the Job Scheduler list.
-
In the row for the job, click the
 icon.
icon.
-
In the Edit Job dialog box, change the parameters for the job as needed.
Note: The Name and Schedule fields are editable.
- Click Save.
Add a New Custom Job
Add a New Custom Job
USM Anywhere includes defined jobs to perform many of the standard log collection and scanning actions that you will need to monitor your networks. These jobs are predefined to run using a recurrence according to industry best practices. However, if you need to define a scheduled job to perform log collection, asset scans, or asset group scans, you can add a new job directly on the Job Scheduler page.To create a new job
- Go to Settings > Scheduler to open the Job Scheduler page.
-
In the upper-right of the page, click New Job.
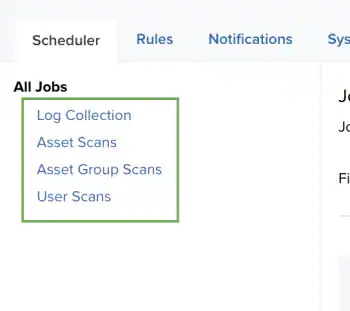
- If you have selected Log Collection in the left navigation panel, this button is labeled Create Log Collection Job. This limits the options in the dialog to those that define a log collection job.
- If you have selected Asset Scans or Asset Group Scans in the left navigation panel, this button is labeled Create Scan Job. This limits the options in the dialog to those that define an asset scan, asset group scan, or asset discovery job.
- If you have selected User Scans in the left navigation panel, this button is labeled Create User Scan Job. This limits the options in the dialog to those that define a user scan job.
- Enter the name and description for the job. The description is optional, but it is a best practice to provide this information so that others can easily understand what it does.
- Select the source for the new job. You can choose between Sensor or Cloud Connector. Depending on the previously selected source, there are different actions or parameters.
-
In the Schedule section, specify when USM Anywhere runs the job:
a. Select the increment as Minute, Hour, Day, Week, Month, or Year.
b. Set the interval options for the increment. The selected increment determines the available options. For example, on a weekly increment, you can select the days of the week to run the job.Warning: After a frequency change, monitor the system to check its performance. For example, you can check the system load and CPU. See USM Anywhere System Monitor for more information.Or on a monthly increment, you can specify a date or a day of the week that occurs within the month.
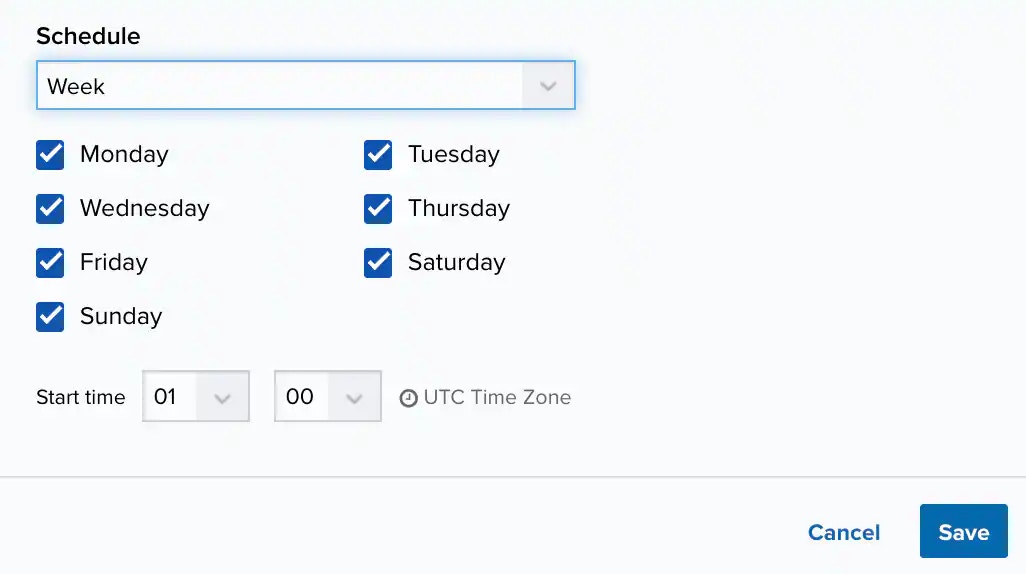 c. Set the start time. This is the time that the job starts at the specified interval. It uses the time zone configured for your USM Anywhere instance (the default is Coordinated Universal Time [UTC]).
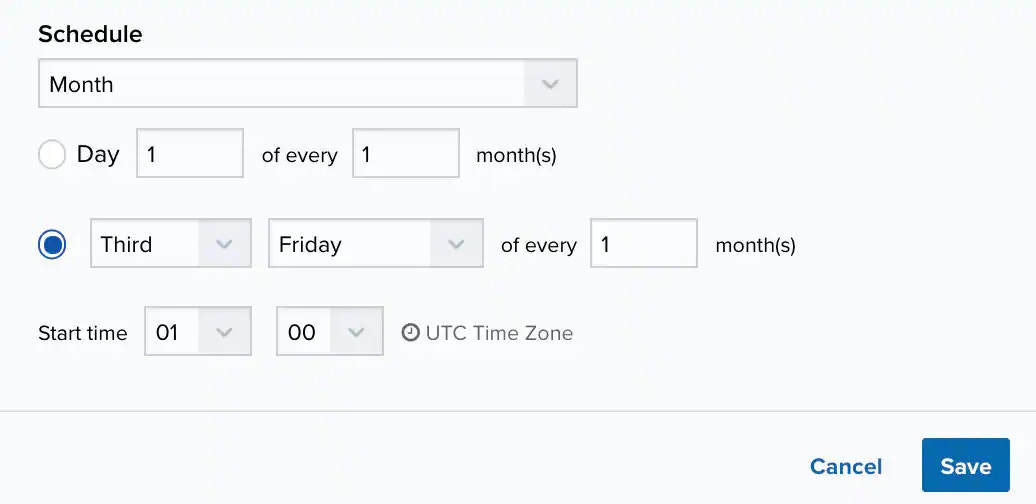
- Click Save.
Modify or Delete a Custom Job
Modify or Delete a Custom Job
You cannot change or delete the parameters of the out-of-the-box jobs in USM Anywhere. You can only enable or disable the predefined jobs. However, you can make changes to the scheduled jobs that you have defined, such as changing the schedule parameters to run the job more or less frequently. If a custom job is no longer needed, you can delete it.To make changes to a custom job
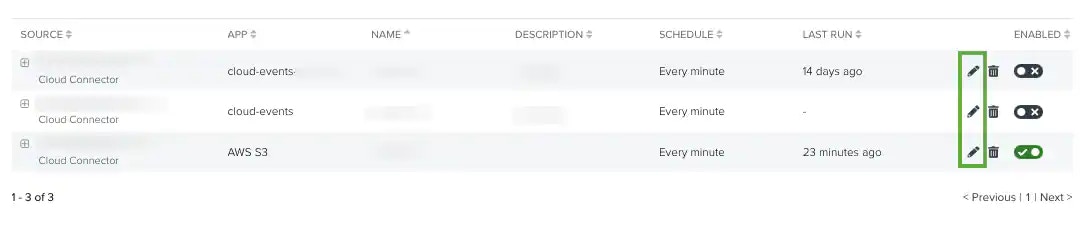
- Locate the job in the Job Scheduler list.
-
In the row for the job, click the icon.
- In the Edit Job dialog box, change the parameters for the job as needed. See Add a New Custom Job for more information about these options.
- Click Save.
- Locate the job in the Job Scheduler list.
- In the row for the job, click the
 icon.
icon. - Click Accept to confirm.