- Log into the Google Cloud Platform (GCP) console.
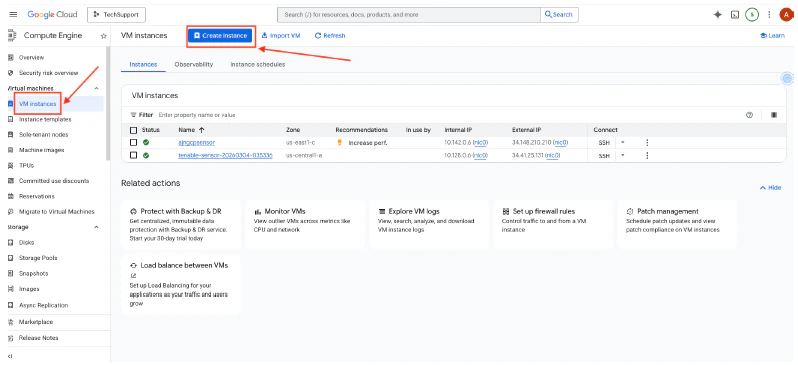
- Navigate to Compute Engine, and then select VM Instances.
- Click Create Instance.
- Enter a Name for the Tenable Sensor, and select the checkbox of the instance type.
- Click Create.

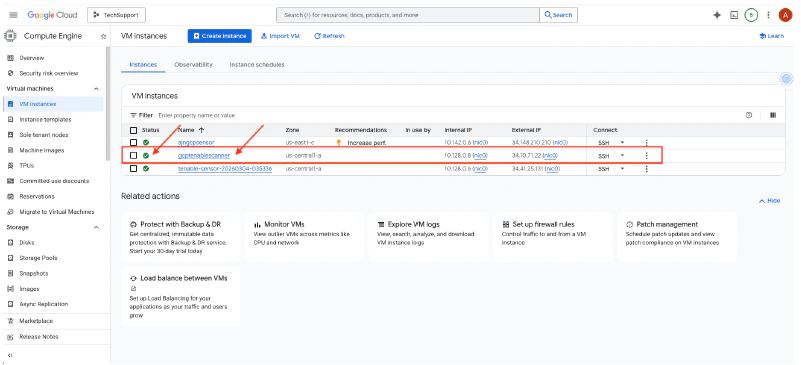
- Wait until the VM instance is created and listed. It should have a green check status.
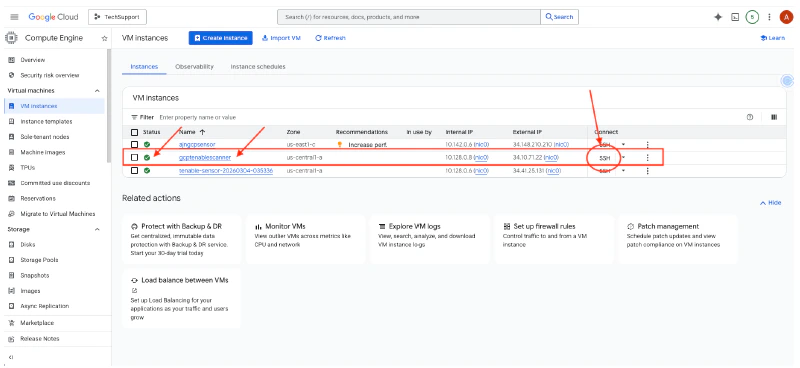
- Connect to the VM instance by clicking the SSH of the created instance.
A console opens up after clicking SSH.
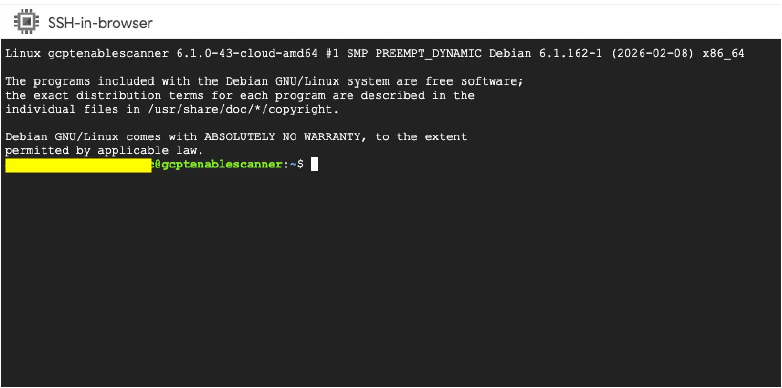
- Check the Linux OS version in the Tenable sensor:
 Based on the screenshot above, the Linux OS is Debian 12.
 - Get the latest Debian version of the Tenable scanner:
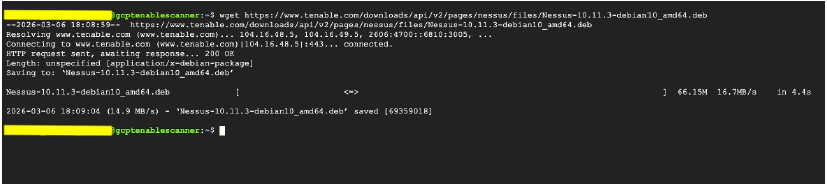
- Check for the downloaded deb package of the Nessus Tenable scanner.

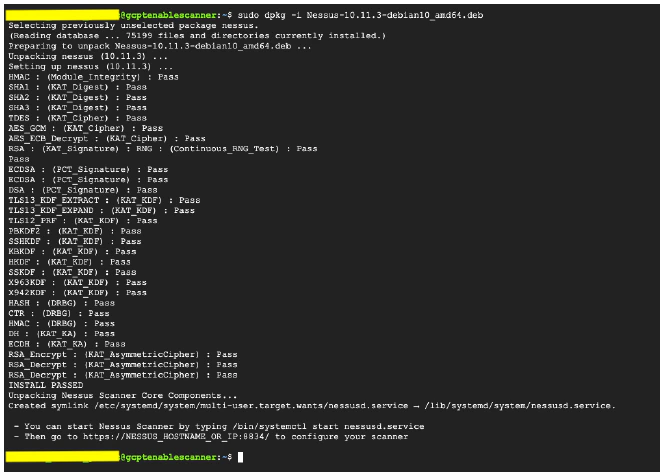
- Install the deb package using dpkg:
- Install the package.
- Start the nessusd.service:

- Enable the nessusd.service:

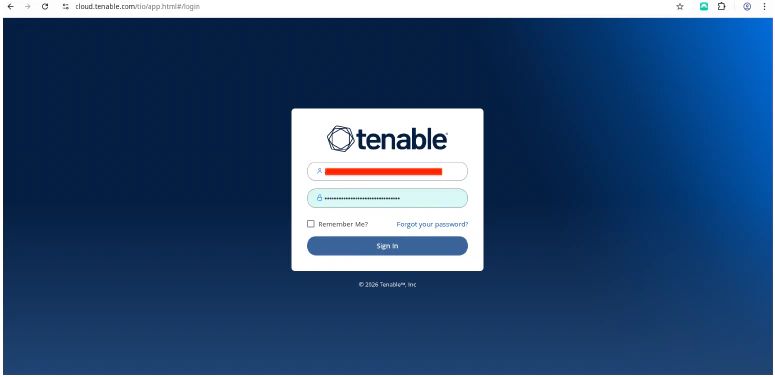
- Log into cloud.tenable.com to get the Linking Key.
- Click the burger menu, and then select Settings.


- Select Sensors.

- Click Add Nessus Scanner to view the Linking Key.

- Copy the Linking Key.

- In the Tenable sensor CLI, use the Linking Key to link the Tenable sensor:
Once done, you should see a “Successfully linked” message.

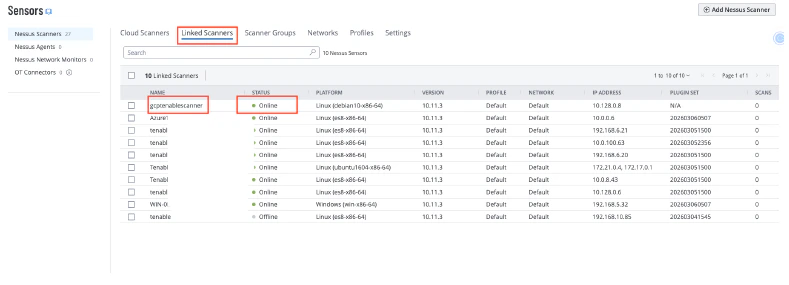
- Return to the Tenable cloud page, and verify that the Tenable sensor is linked correctly and is in Online status.
Deployment Guides for Tenable Scanners
Tenable Sensor Deployment for GCP
To deploy the Tenable sensor for GCP