
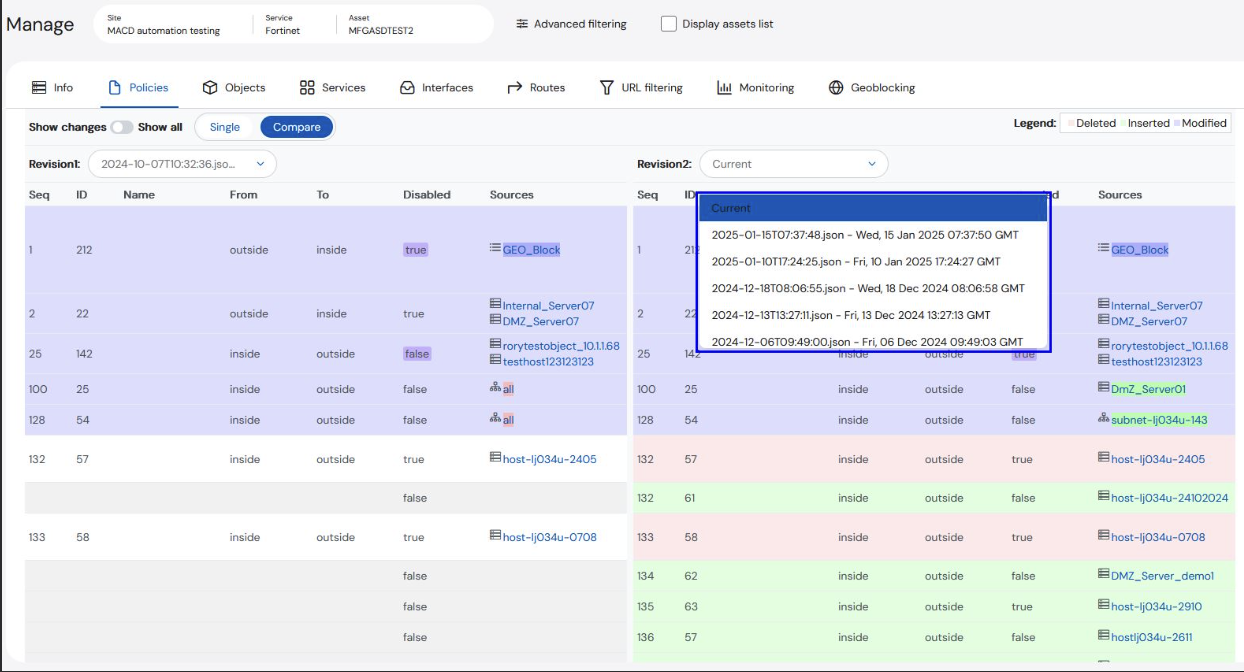
Viewing Previous Revisions
To view previous revisions:- Select the dropdown beside Revision.
All of the previous revisions are time-stamped and shown on a list.
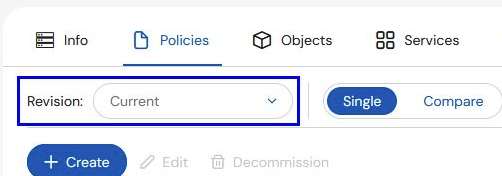

- Select any of the previous revisioni to display that version.
- To revert to the current version, select Current from the list.
Comparing Revisions
You can compare different versions of policy on an asset. To compare policy revisions:- Click on the Compare toggle.
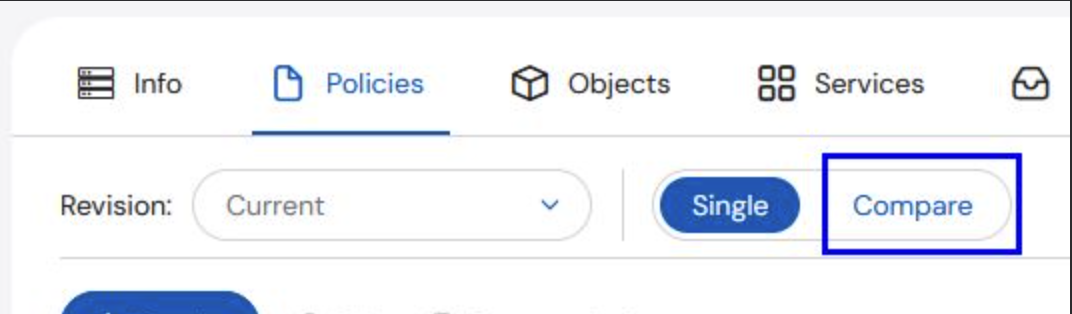
- Select the first revision you would like to compare.
Revision2 will always default to the Single view that is displayed when the Compare toggle has been selected. The table will populate the differences.
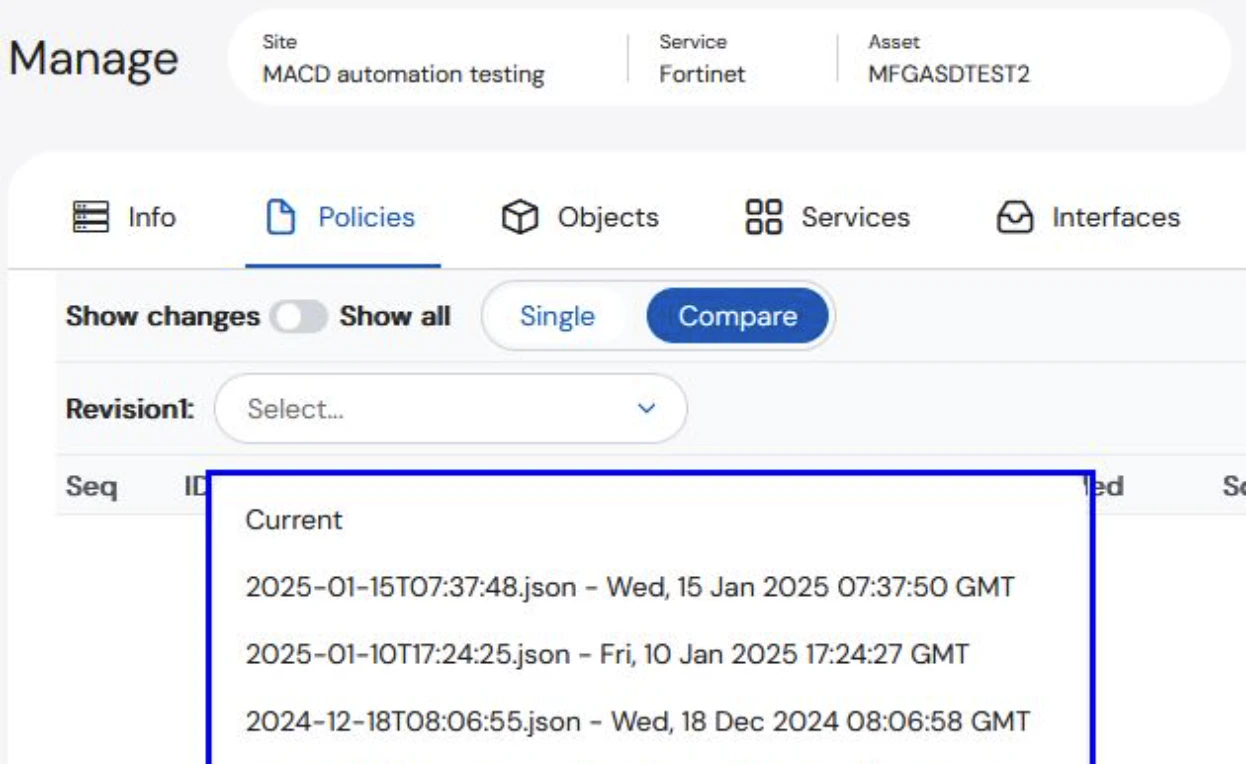
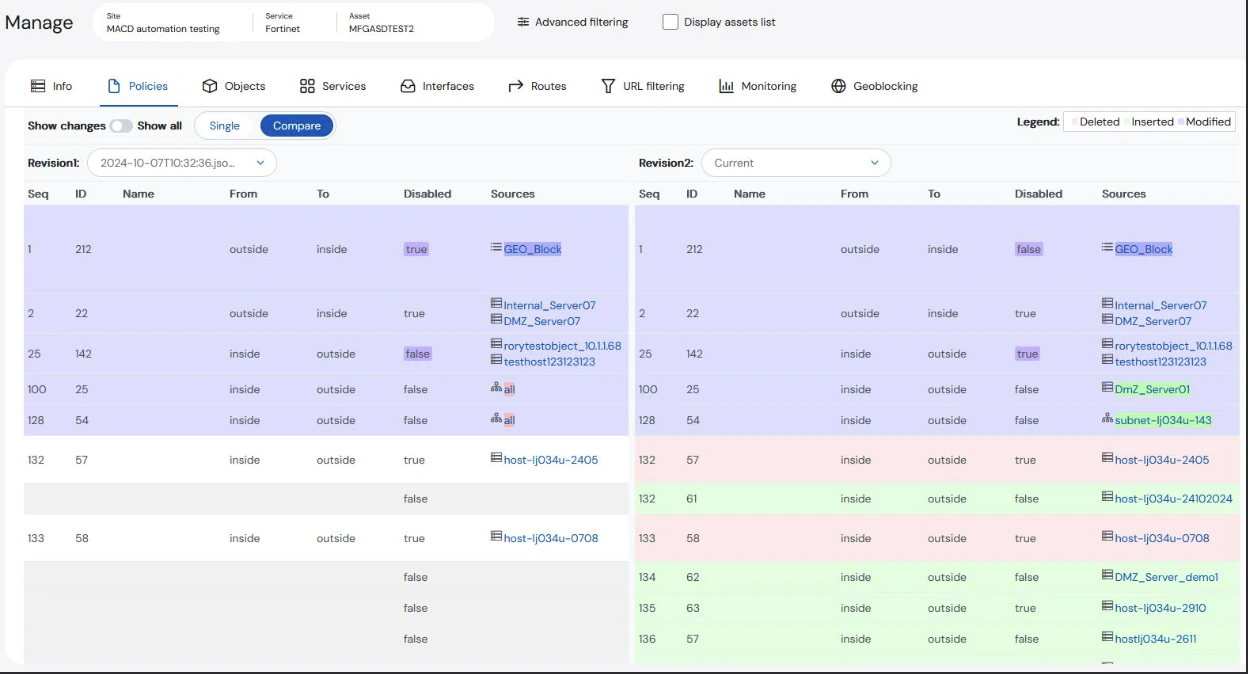
- (OPTIONAL) To change Revision2, select the preferred Revision from the drop-down list.
Adding New Firewall Rules
You can add a rule in multiple ways: Create New Rule, Create New Rule Before, and Create New Rule After. To create a new firewall rule:- Click +Create.
- Select from the drop-down menu: New Rule, New Rule Before, or New Rule After.
To create a new rule before or after, an existing rule must be selected.

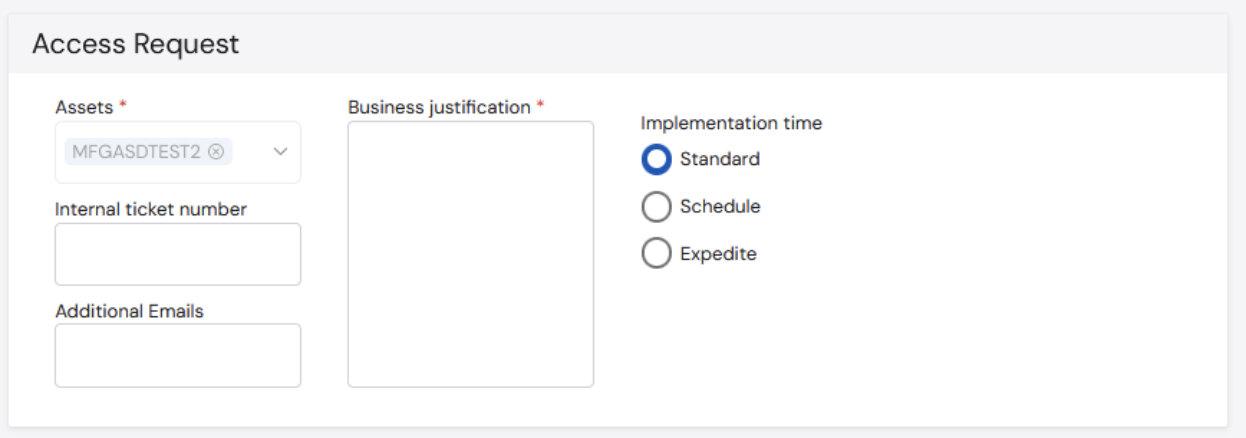
- Complete the required fields on the top of the form: Assets, Business Justification, and Implementation Time.
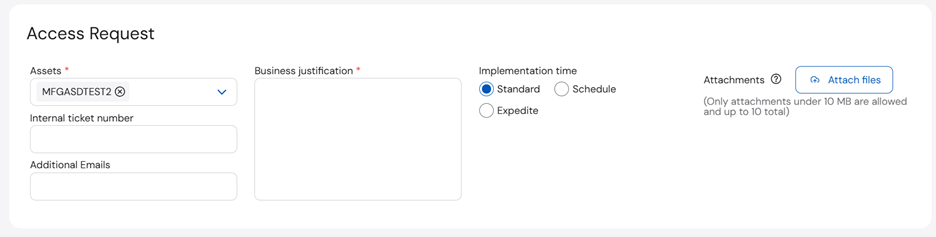
- Enter the Policy information at the bottom of the form: Rule Location, From, To, Sources, Destinations, Services, Action, and Comments (optional).

- Submit the form.
Defining Objects and Groups
You can define new objects and groups using the Objects tab on the Access Request page. This page allows for the addition of new objects and groups, as well as addition of objects to existing groups. Submitting this rule schedules an internal job to add the rule to the target firewall devices in a few minutes. It is advisable to check back to ensure the new object is shown under the Objects tab, confirming the rule is now activated on the firewall. To define an object and group:- Click +Create.
- Select from the drop-down menu: New Object or New Group.

- Complete the required fields on the top of the form: Assets, Business Justification, and Implementation Time.
- Click Create object or Create group.
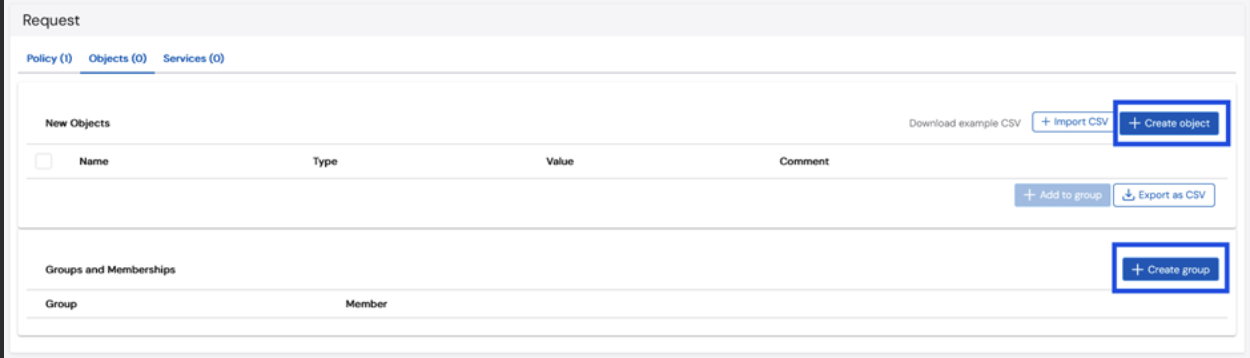
- Enter the object or group information at the bottom of the form.
- Click Create.

- Submit the form.
Editing or Decommissioning Rules
To edit or decommission a rule, select the rule(s) to be edited by selecting the checkbox beside each entry on the Manage page, then select Edit or Decommission. This opens the page with the details for the existing rule.