Viewing URL Filters of Specific Assets
Viewing URL filters associated with specific assets is vendor specific. Fortinet, Palo Alto, and Checkpoint filtering are covered separately below.Fortinet Filtering
To view URL filters on a specific asset, go to Manage > Policies tab. The URL filters appear in the Security Profile column of the **Policies **table. When a filter exists, it is listed as Web Filter within the Security Profile column (as shown on the screenshot below).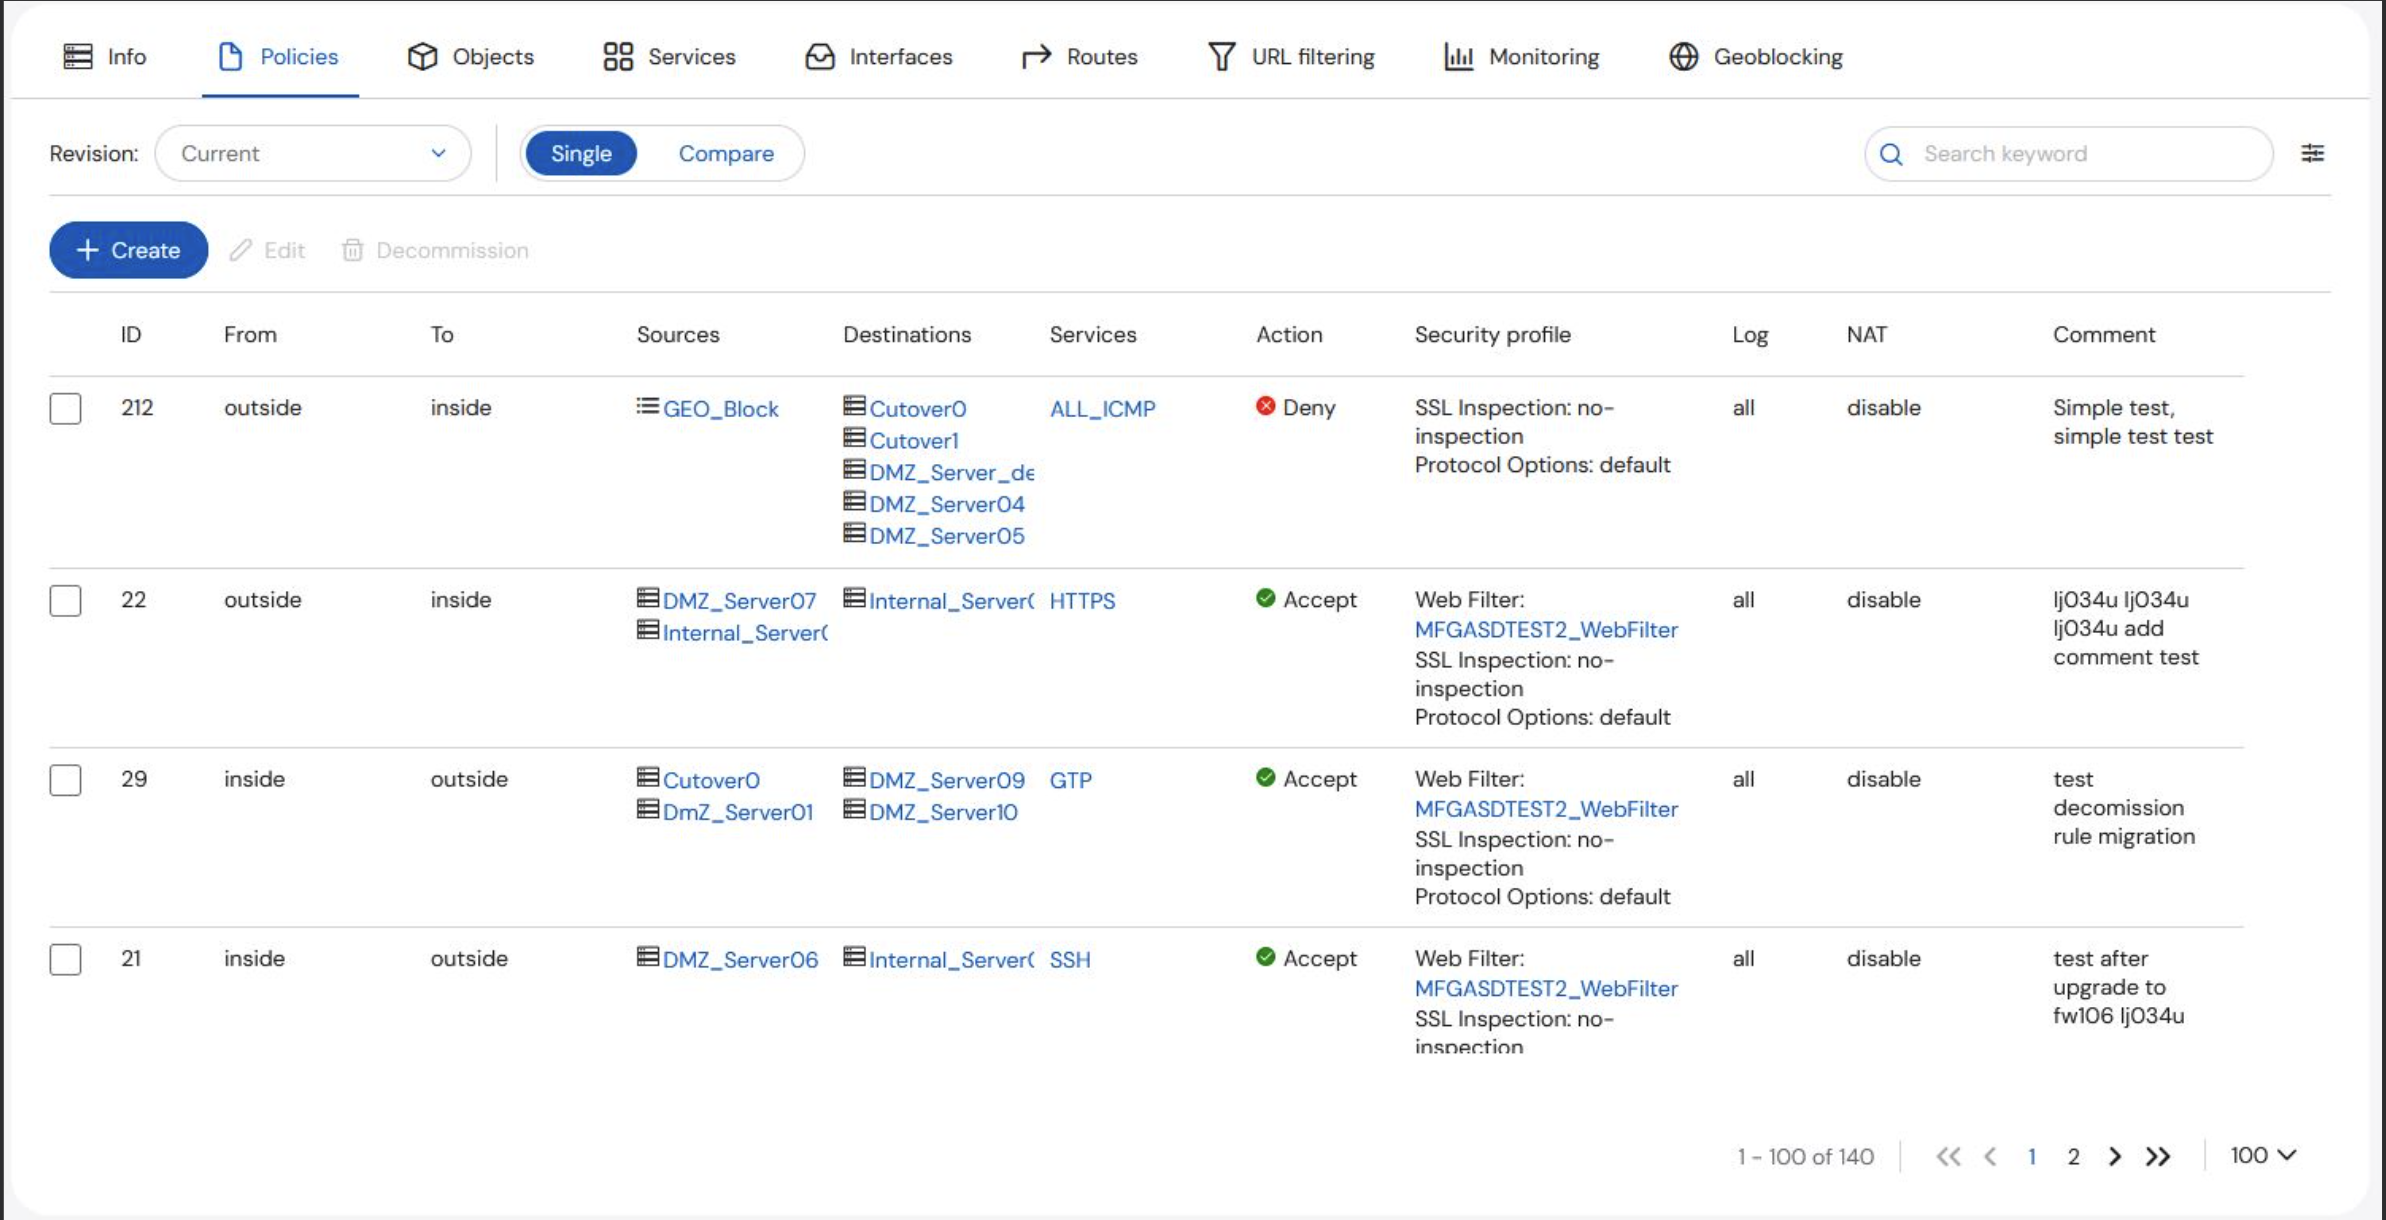
Palo Alto Filtering
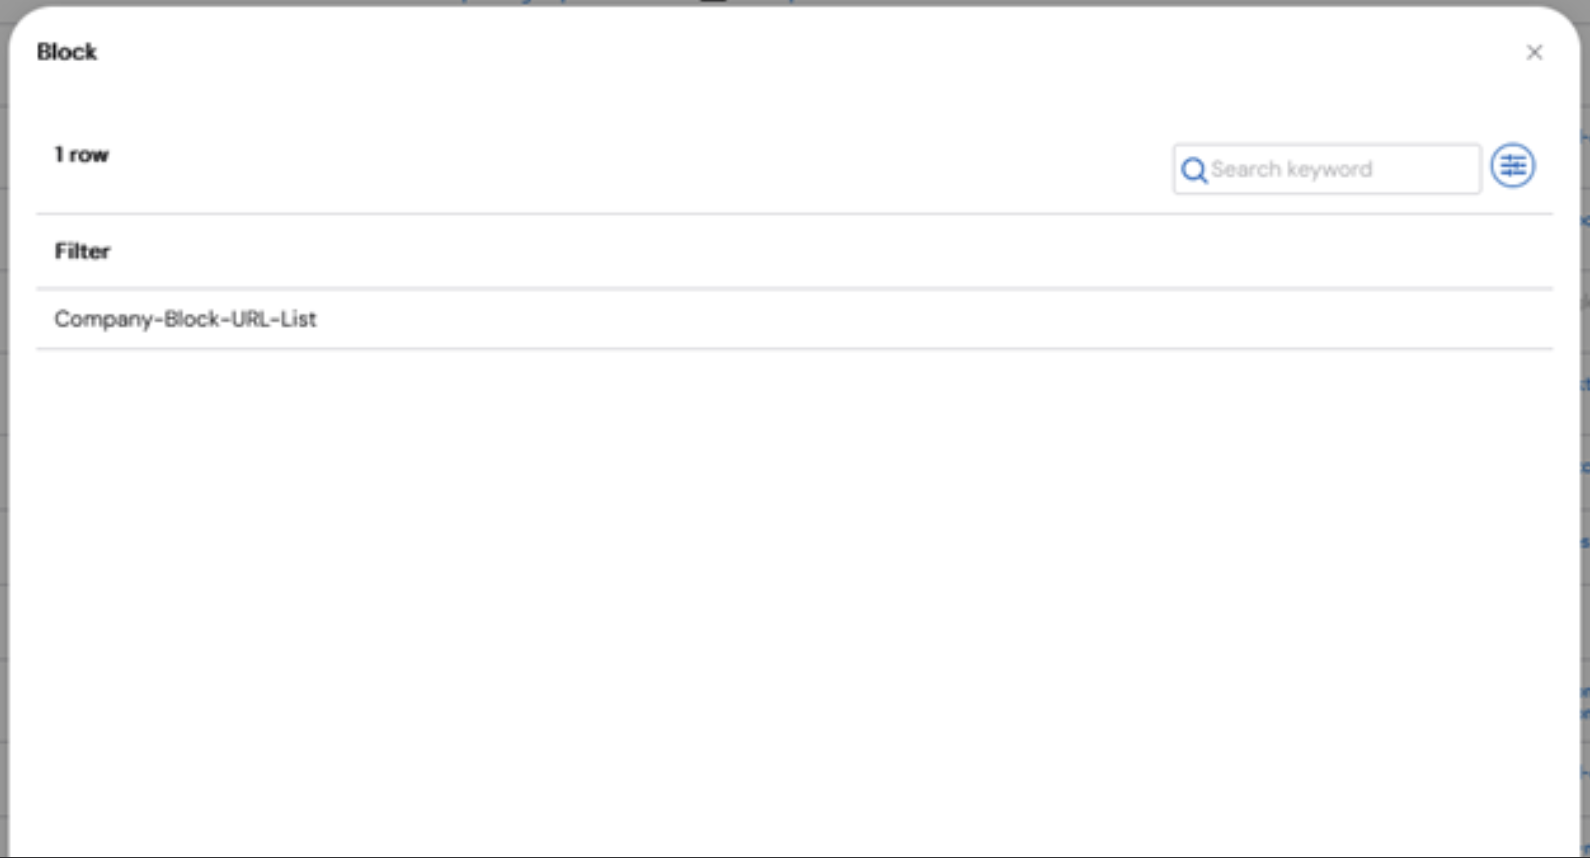
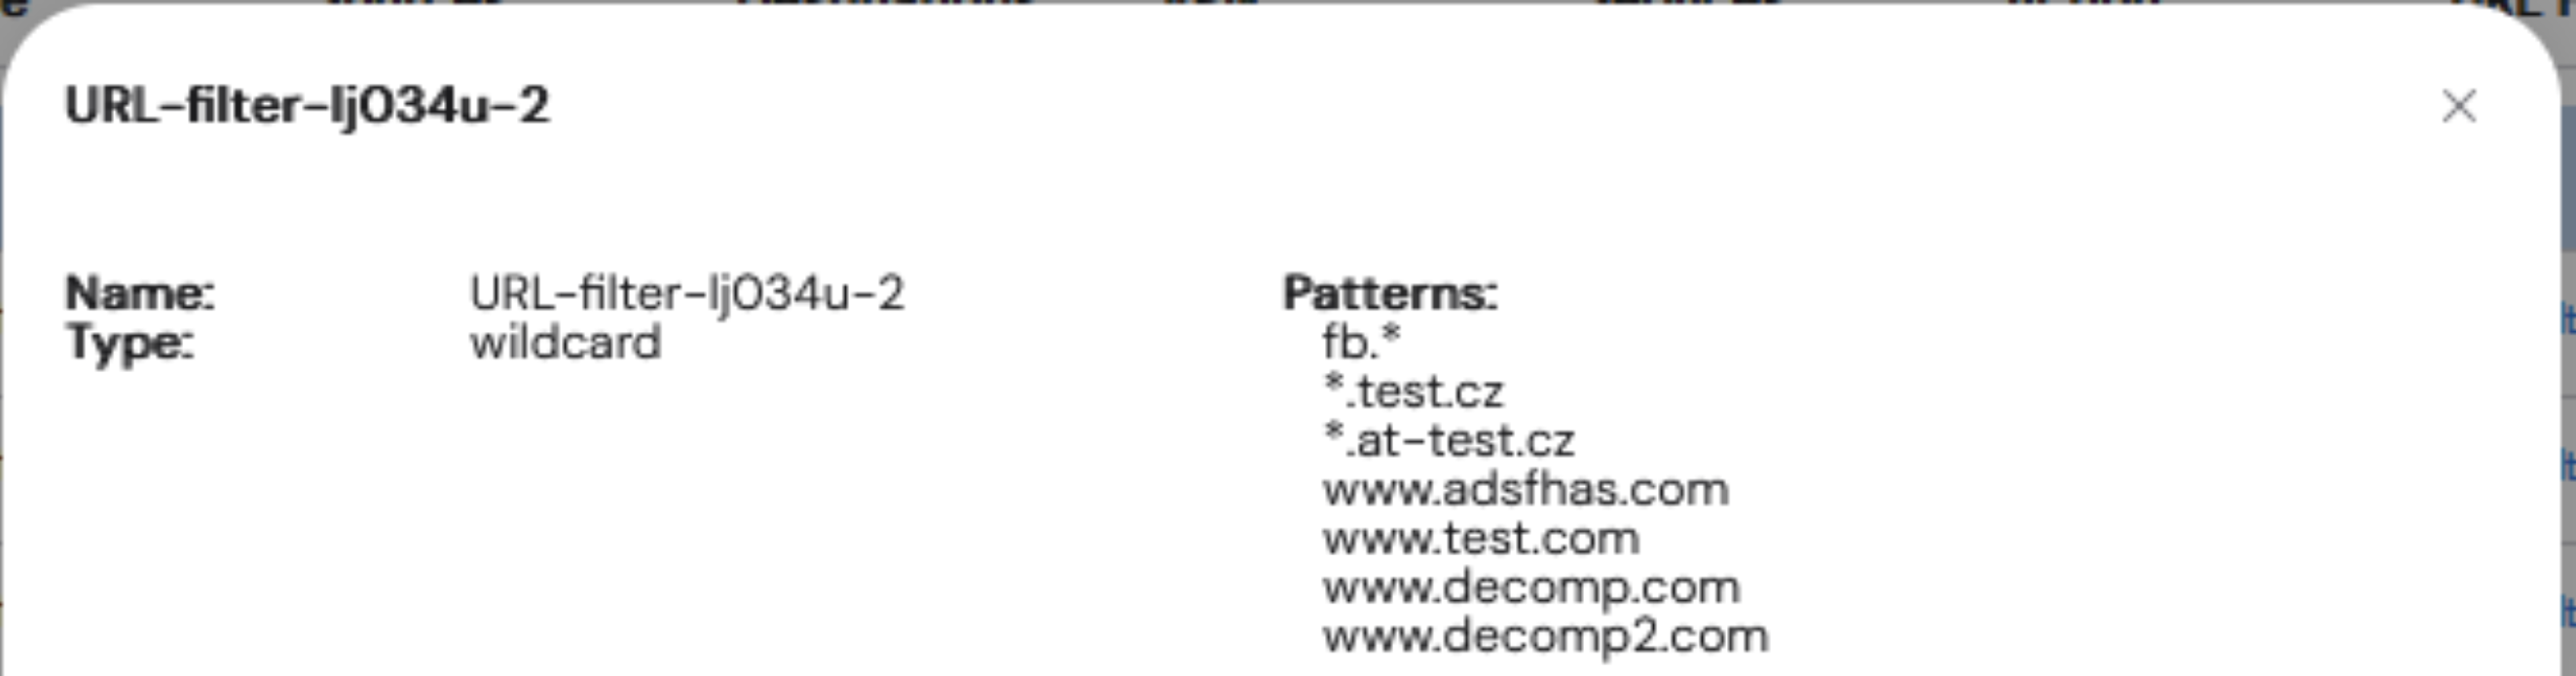
To view URL filters on a specific asset, go to Manage > Policies tab. URL filters appear in the Custom Filters column of the Policies table. They are categorized into Alert, Allow, and Block. Clicking a link displays the URLs listed for the associated action.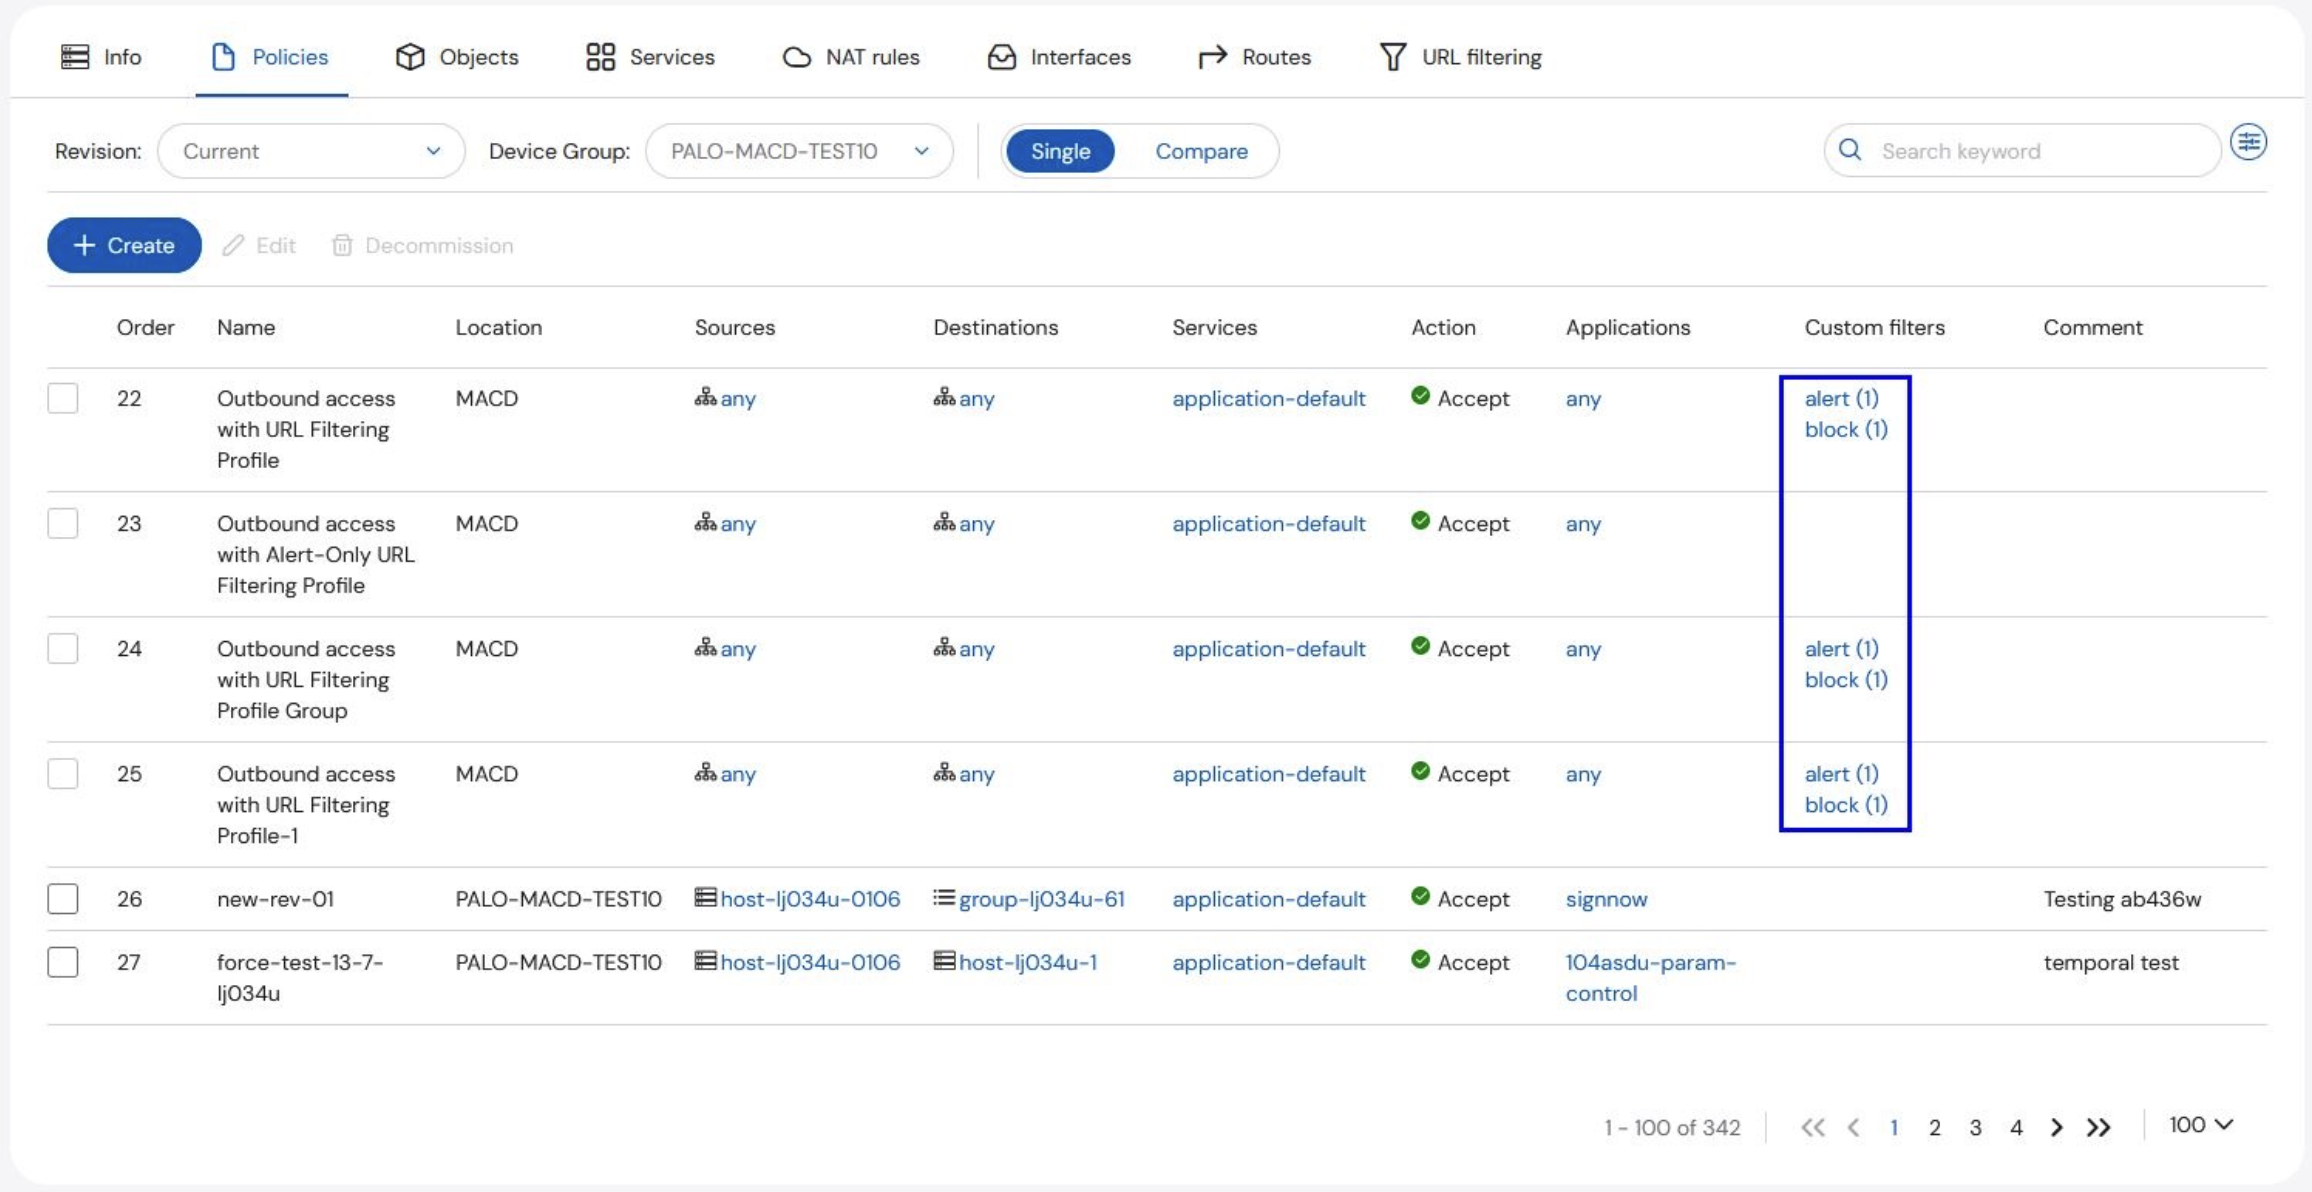

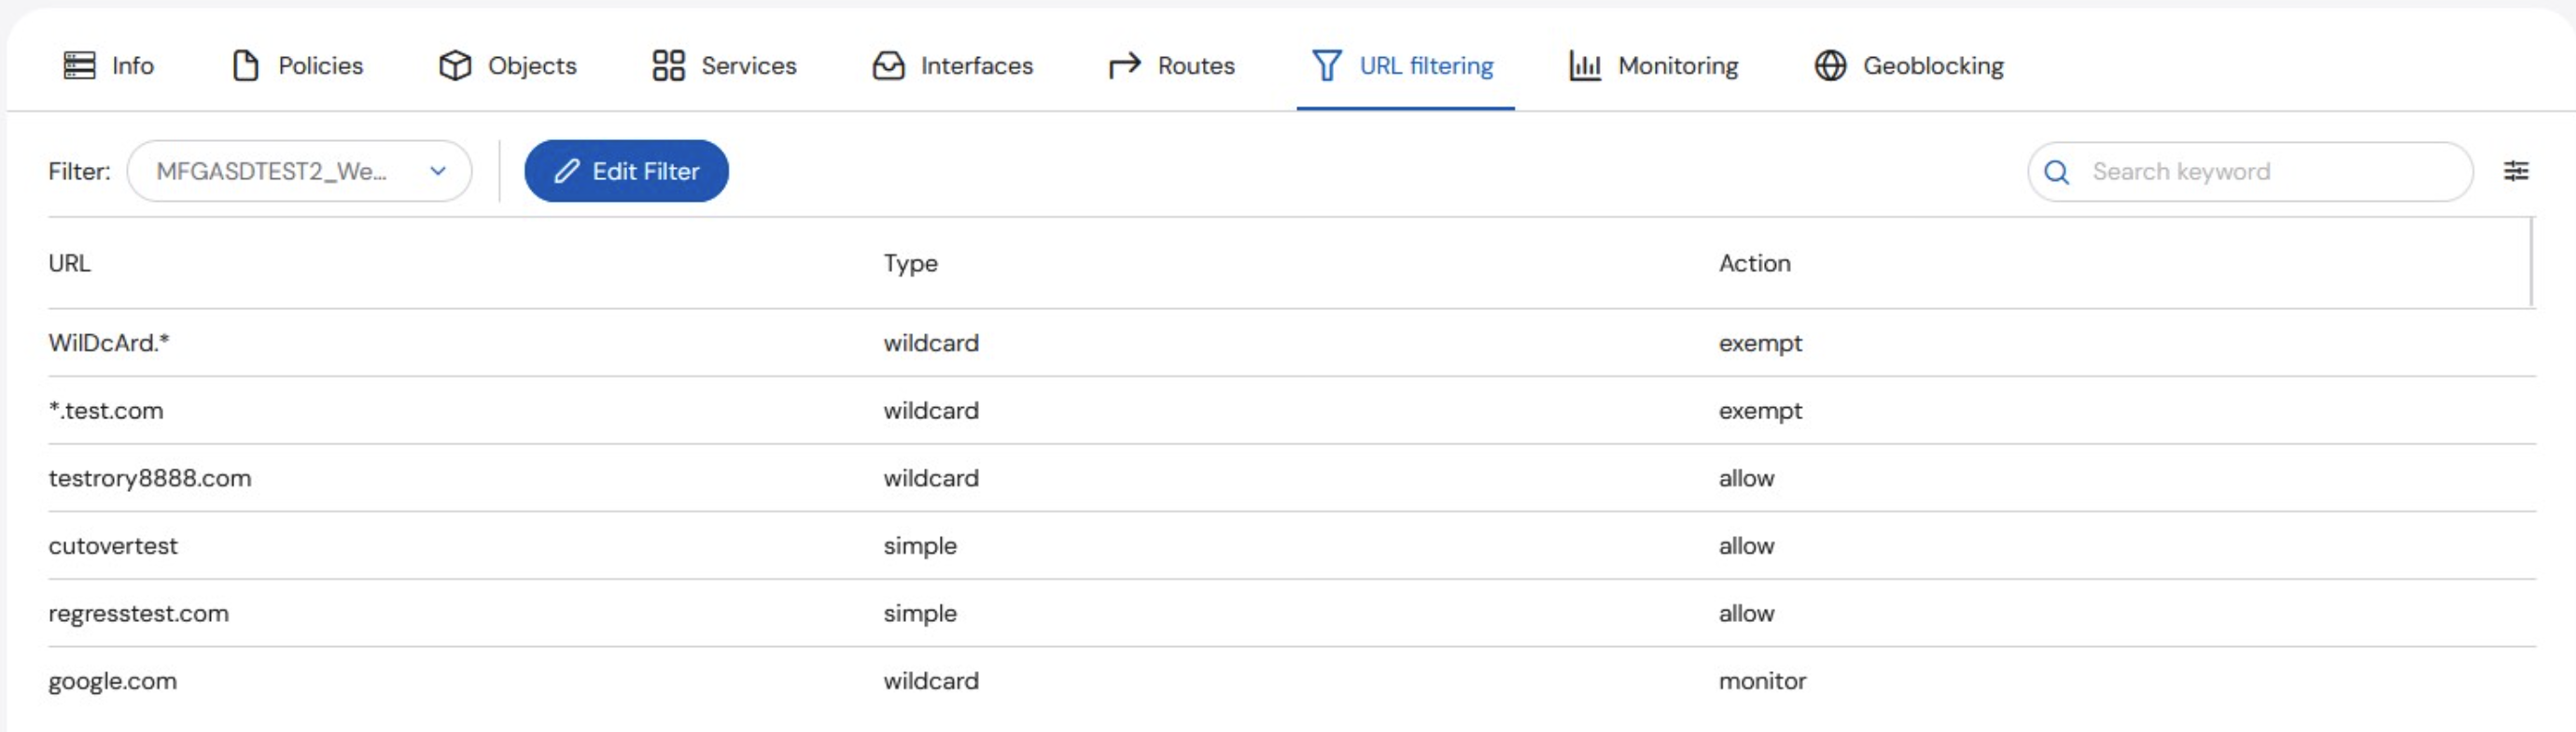
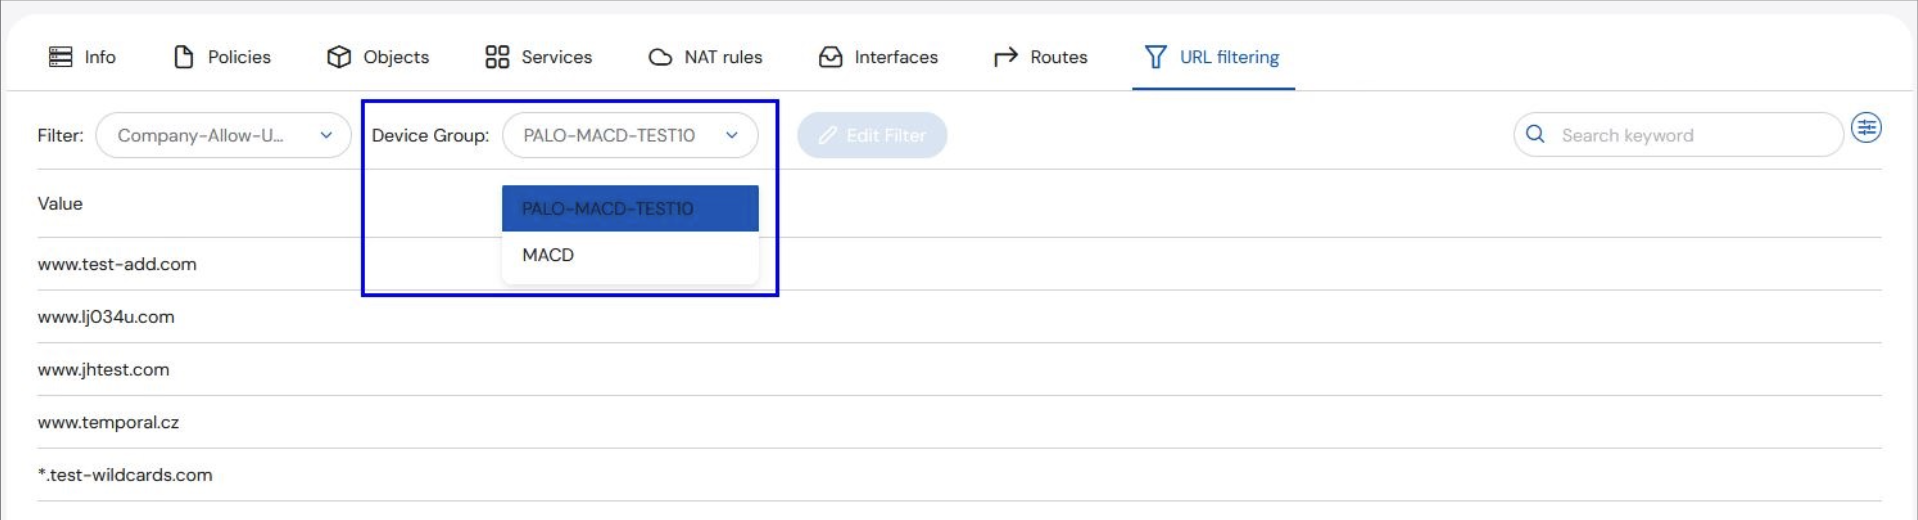
- If Edit Filter function is greyed out, select the appropriate Device Group from the dropdown.
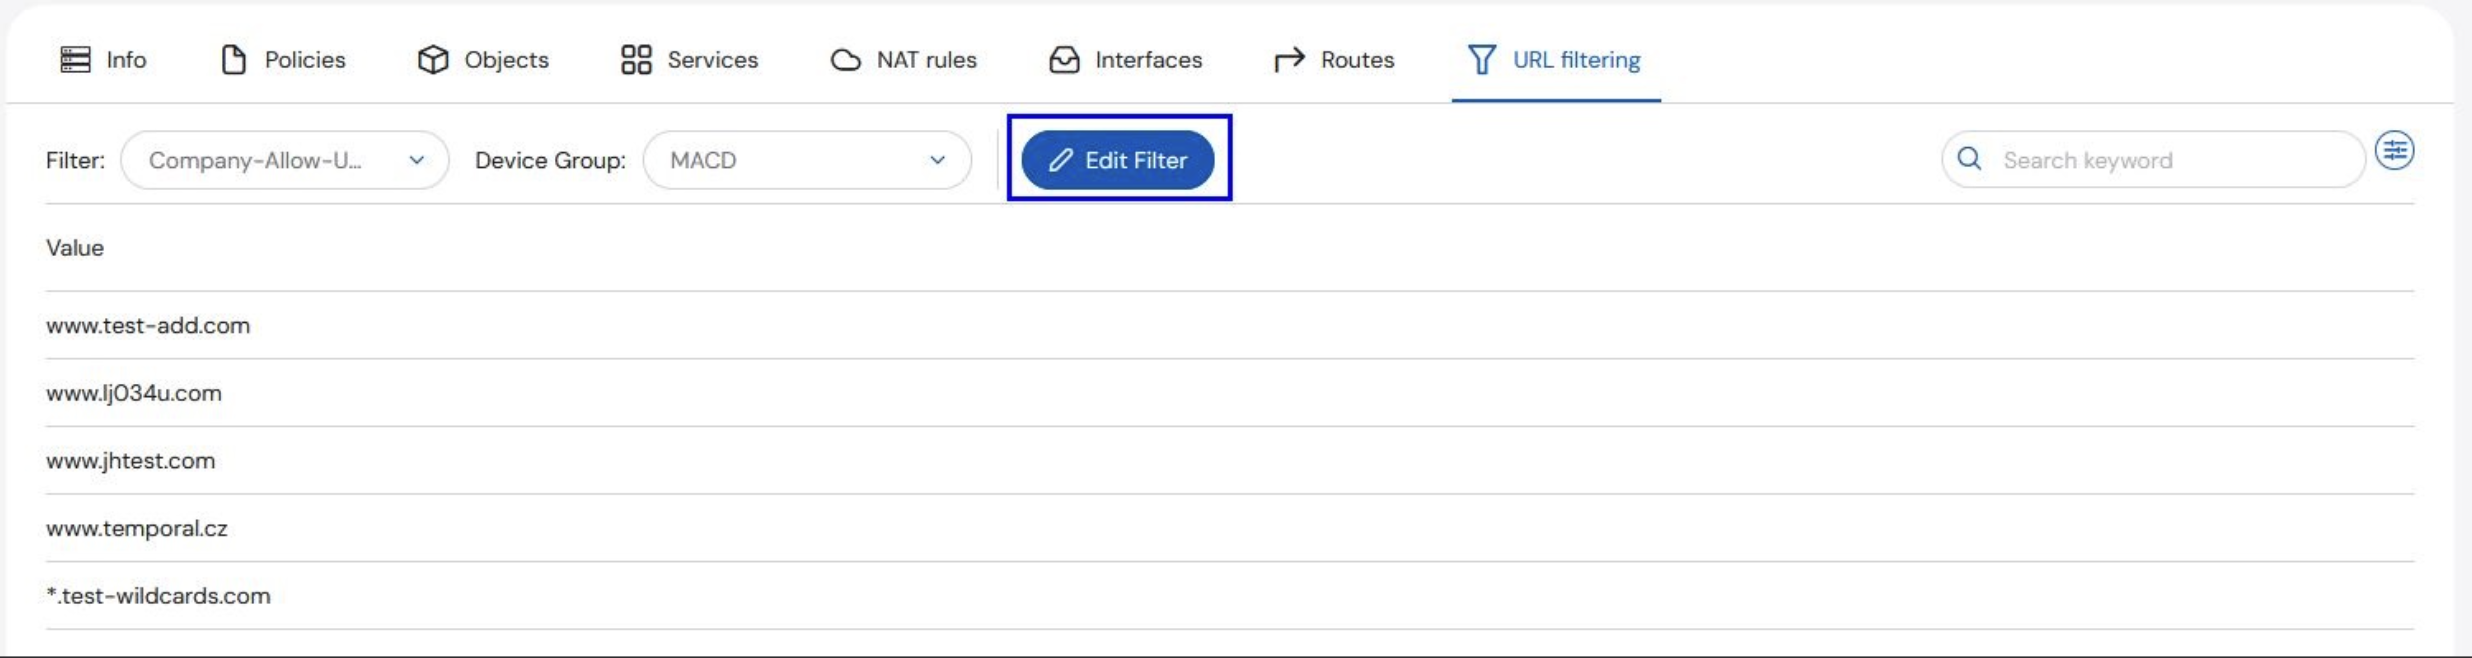
- If the Edit Filter function remains greyed out after selecting the appropriate Device Group, the filter may be shared. Shared filters cannot be edited from the portal. You need to create a request to have this edited manually.
Checkpoint Filtering
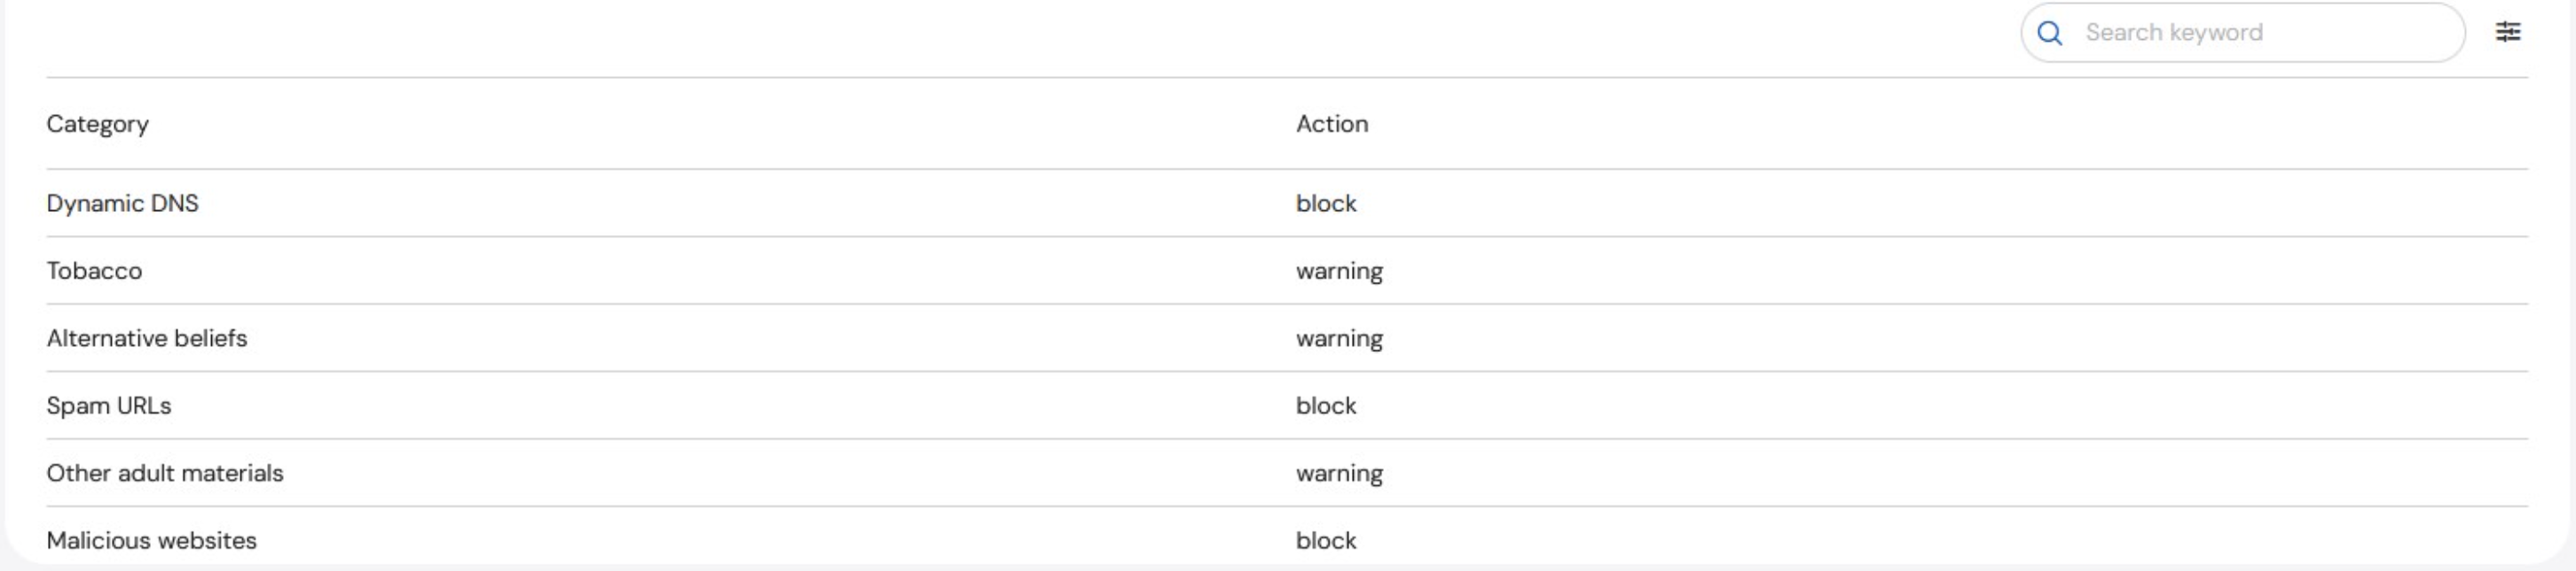
To view URL filters on a specific asset, go to Manage > Policies tab. URL filters are displayed in the URL Filters column in the Policies table when the Application Layer option is selected. Whether the filter blocks or allows traffic is defined by the Action of the rule.
Editing URL Filters
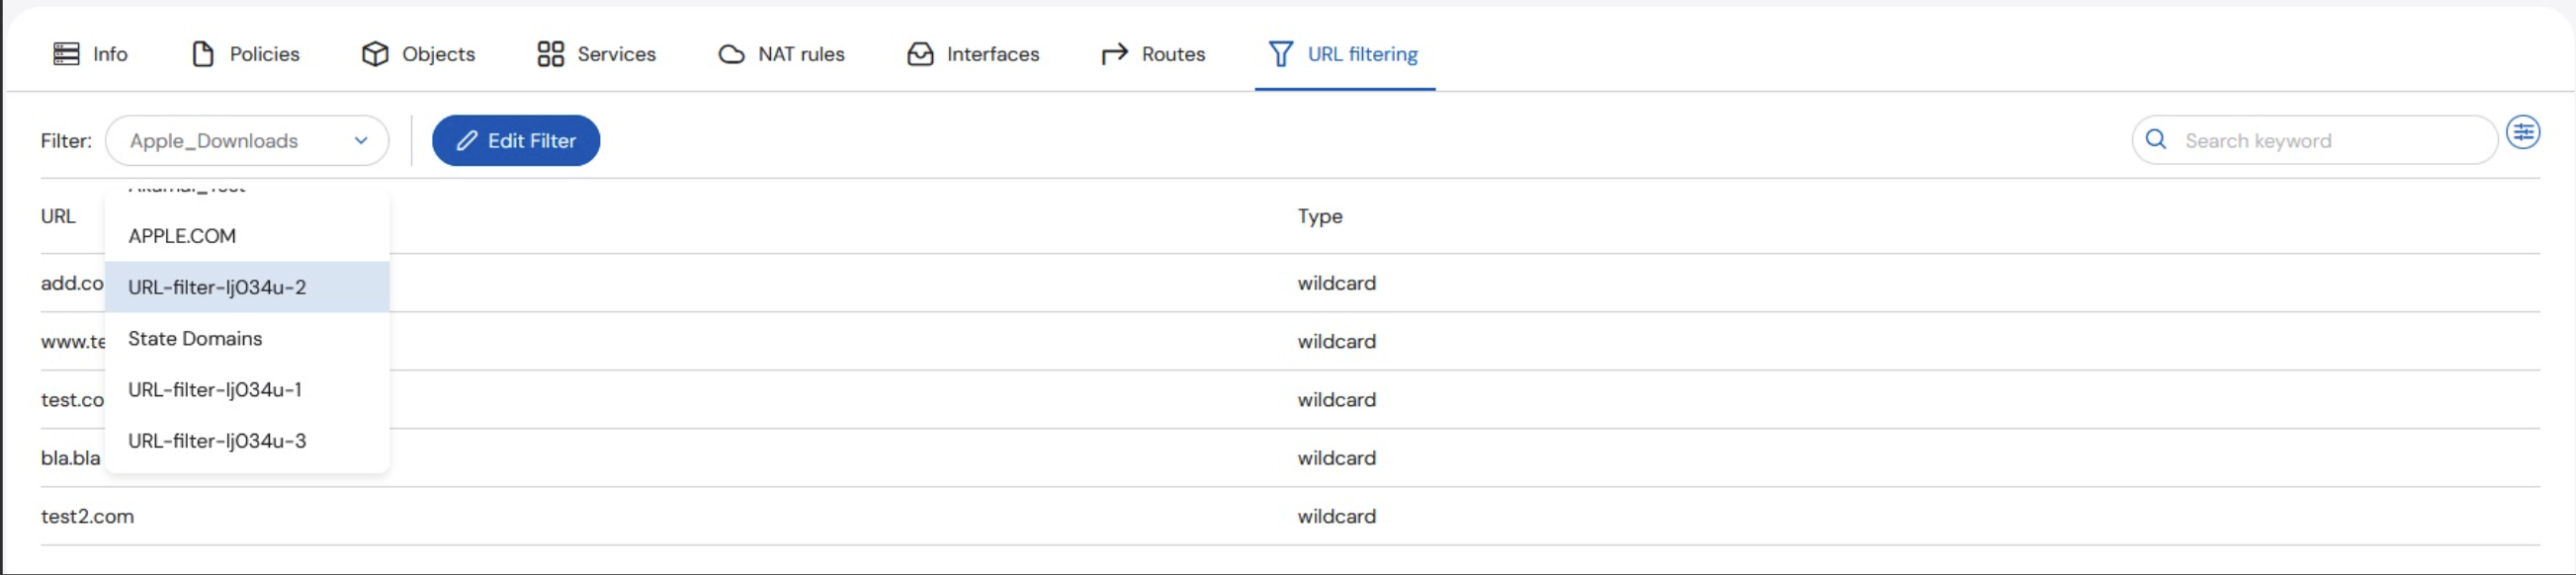
To edit a filter, click Edit Filter to display the URL Filtering form. Enter the relevant details and select an implementation time to schedule the change. To edit a filter:-
Click Edit Filter. You will be directed to the URL Filtering form.
-
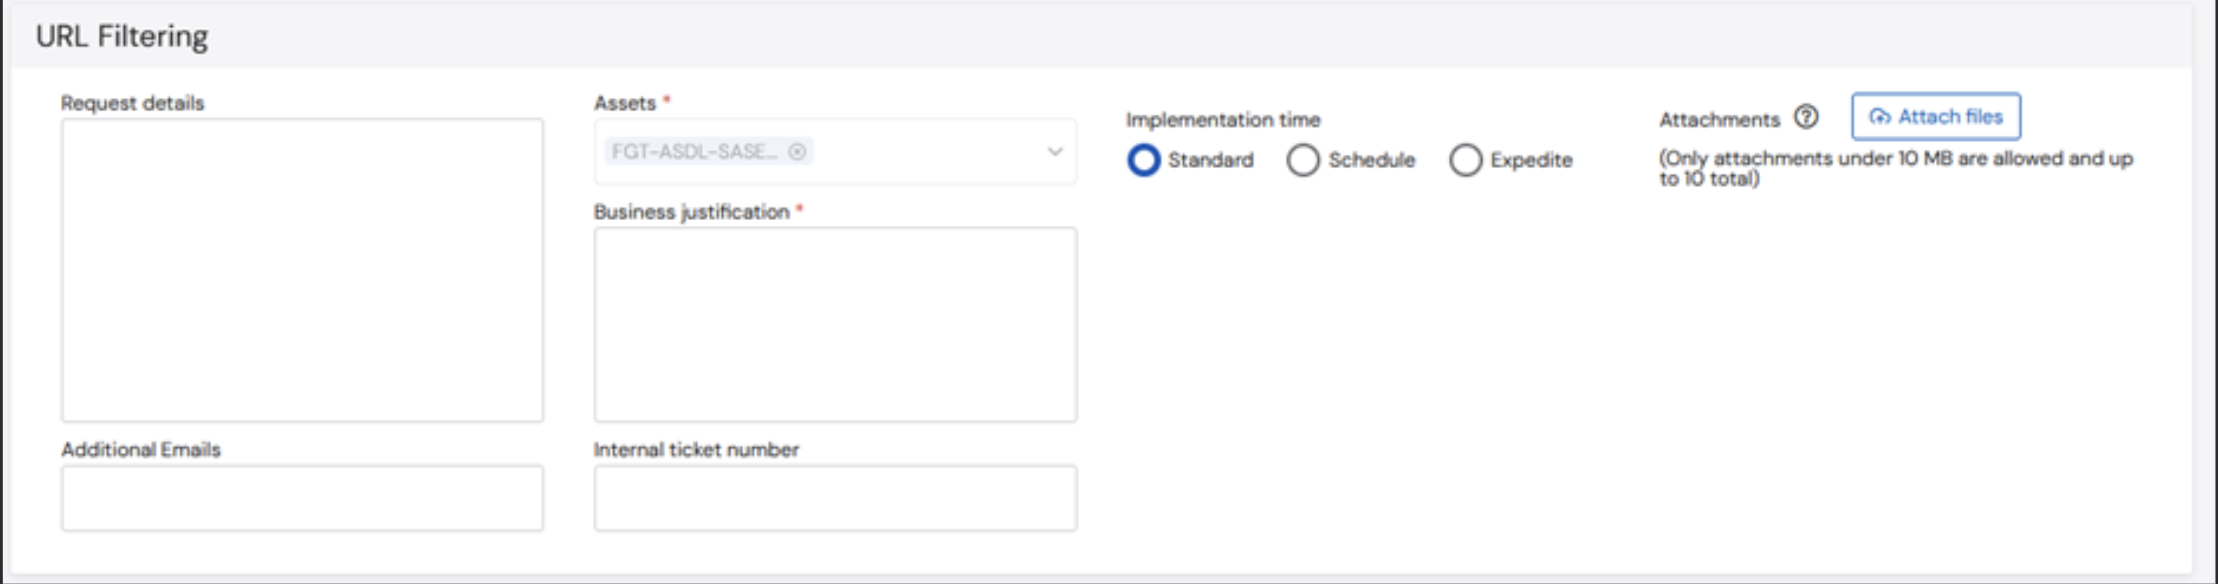
Enter the required information: Assets, Business Justification, Implementation Time, Request Details (optional), Additional Emails (optional), and Internal Ticket Number (optional).
-
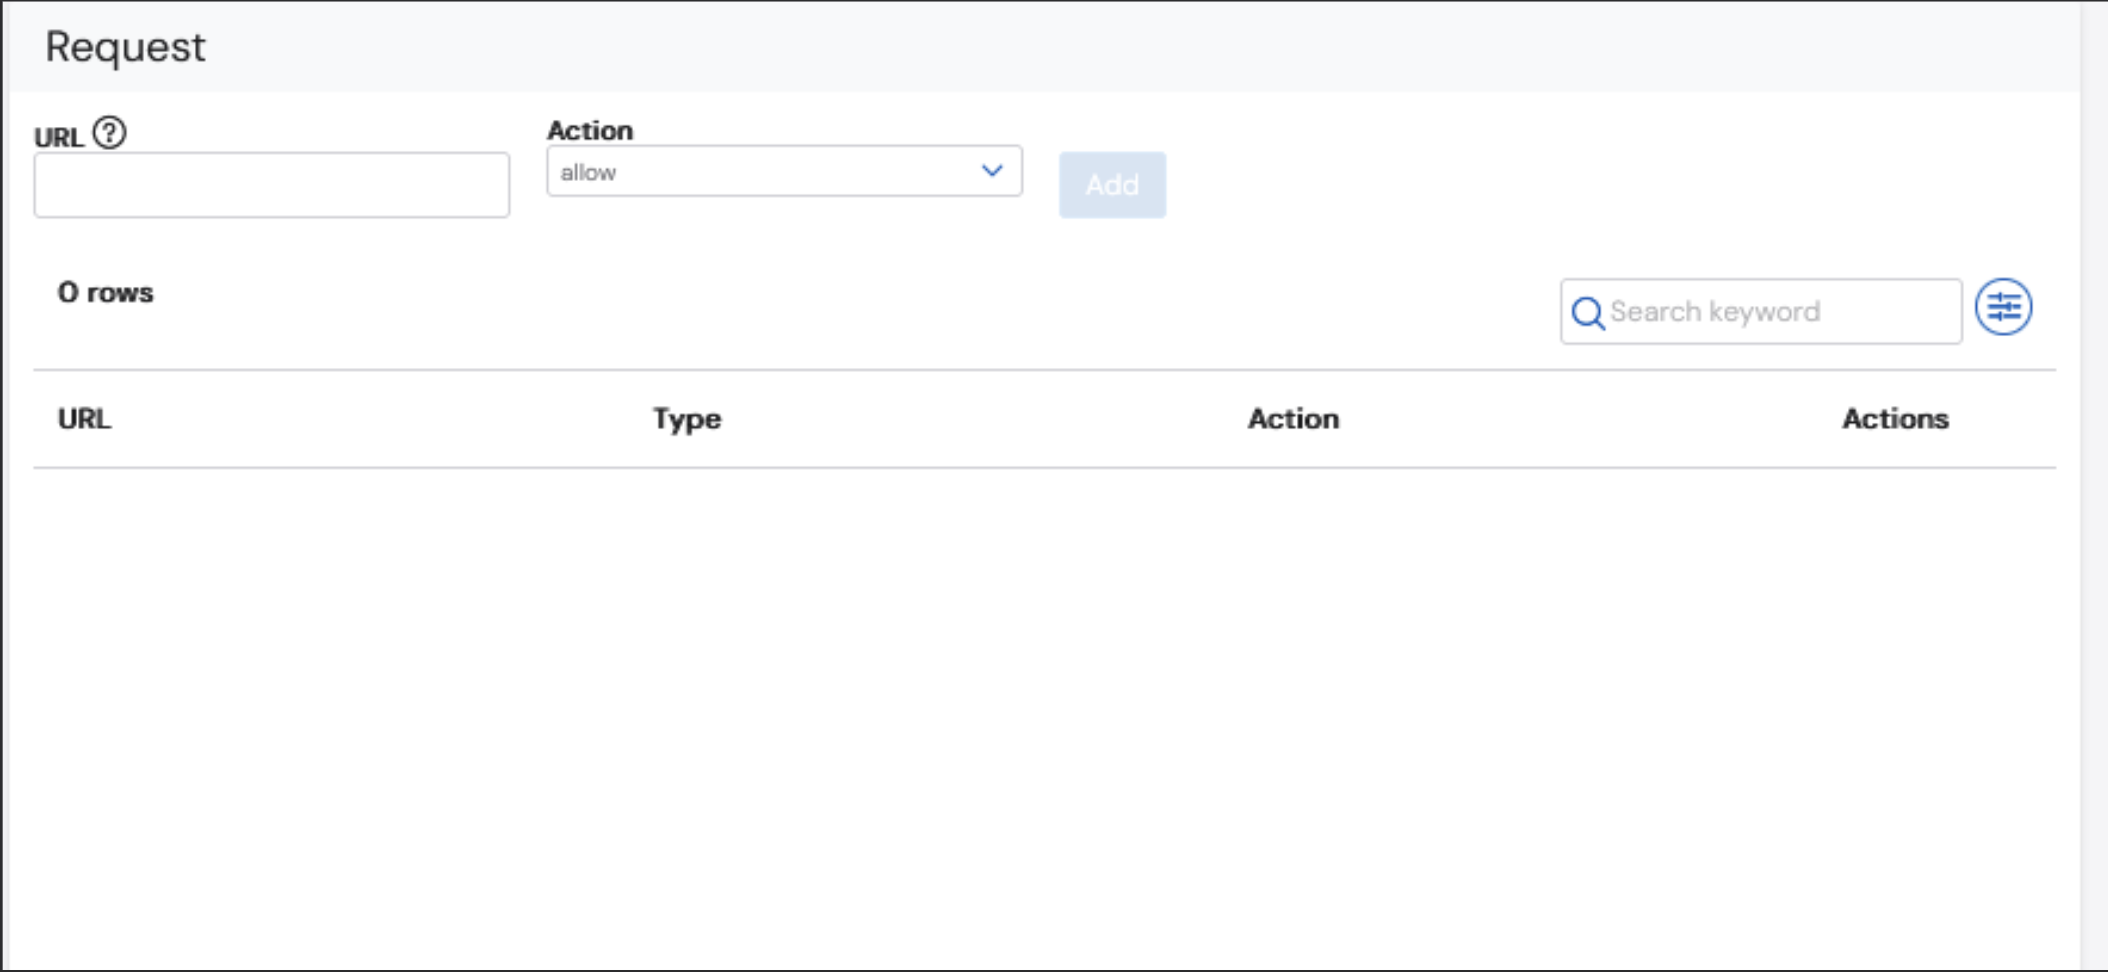
Enter the required information in the Request section of the form.
-
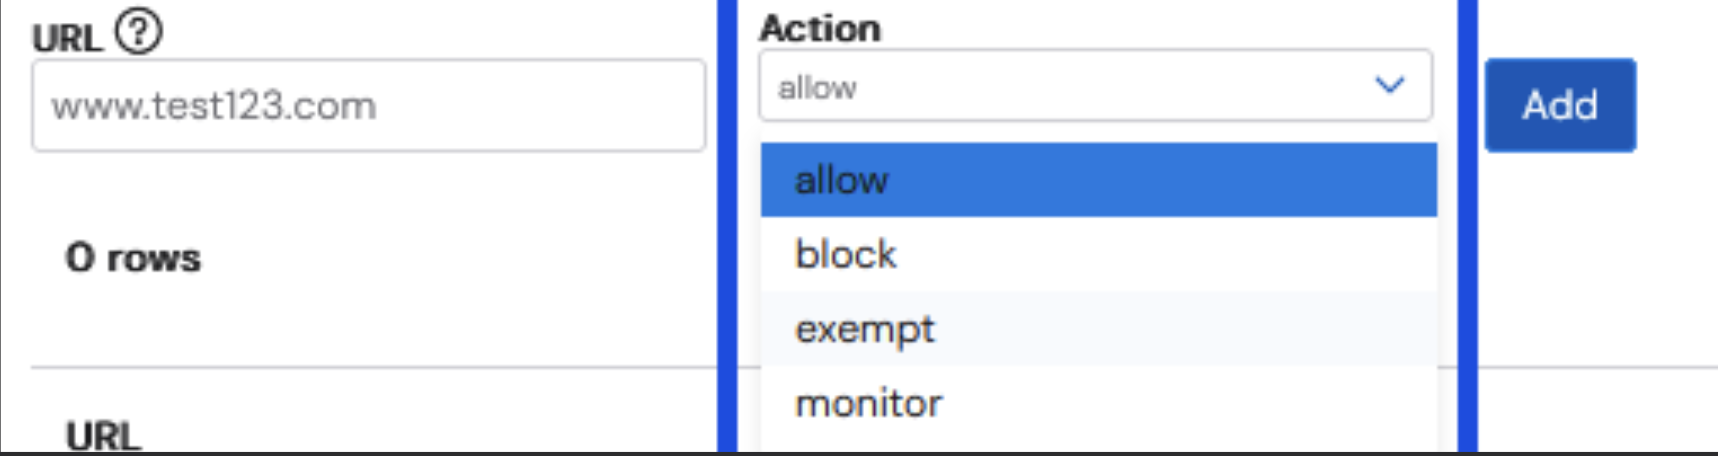
Enter the URL to filter.

-
Select the Action to implement, and then click Add.
 Click the trash bin icon to delete the URL request. Deleted entries will appear with a strike through. However, if you want to undo the delete action, click the revert icon.
- Once done, click Submit to create a ticket to be automatically processed.